Painting my paper pulp pieces

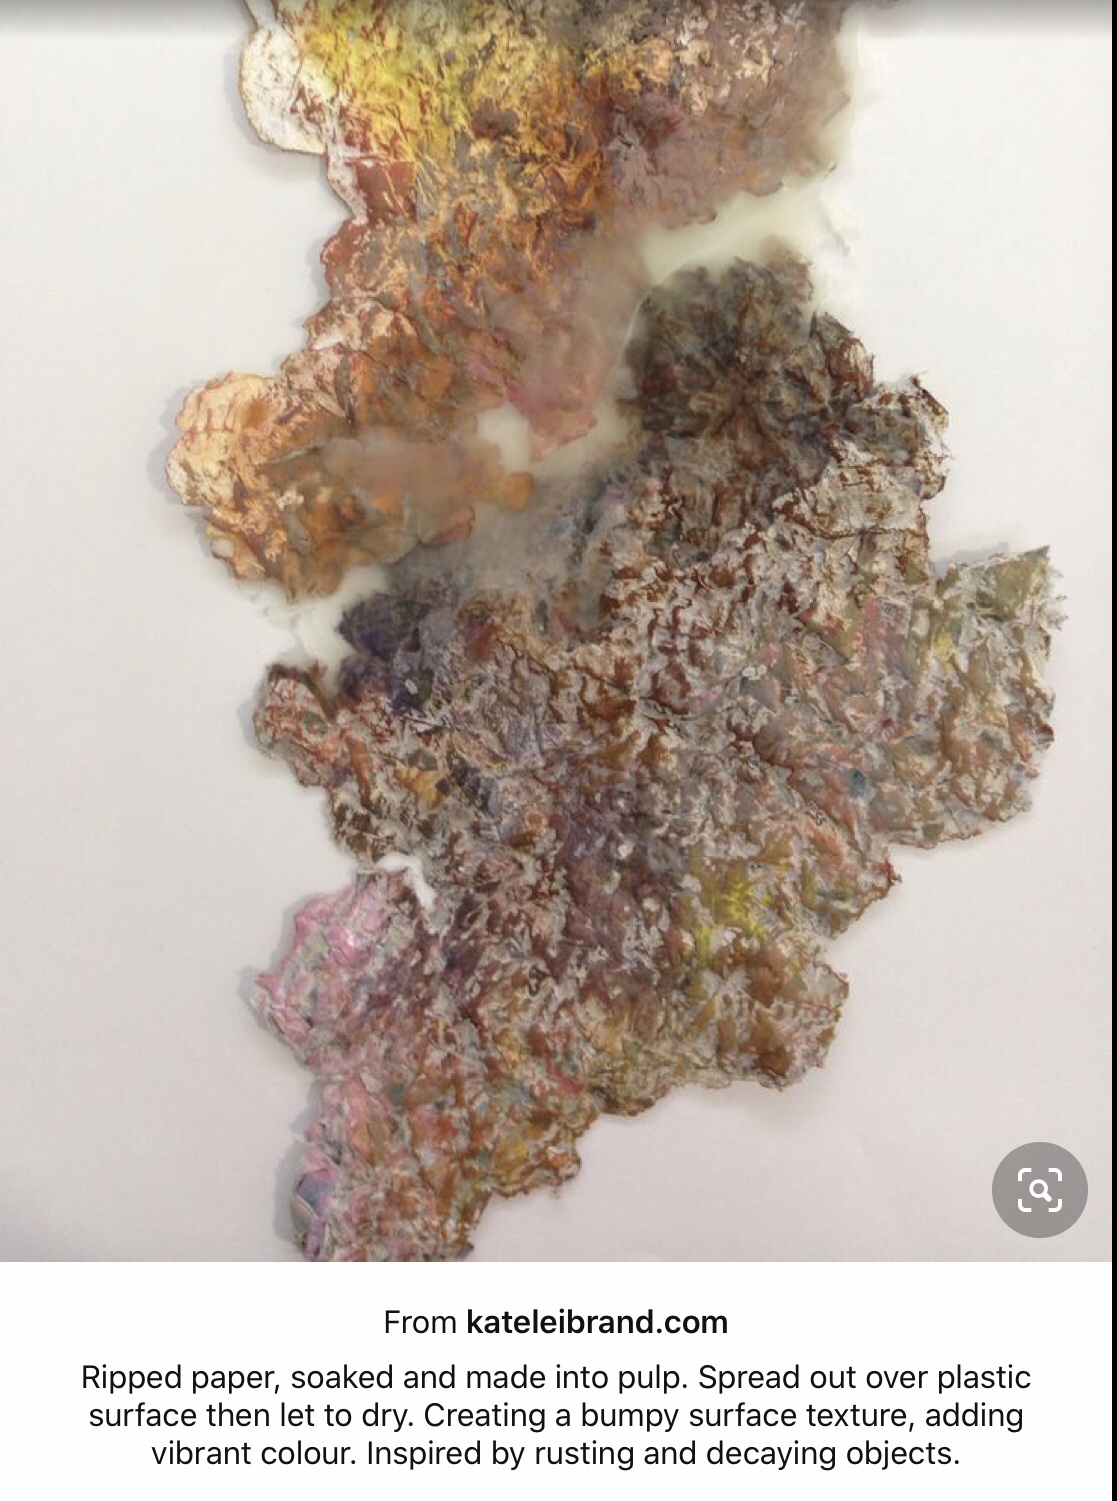
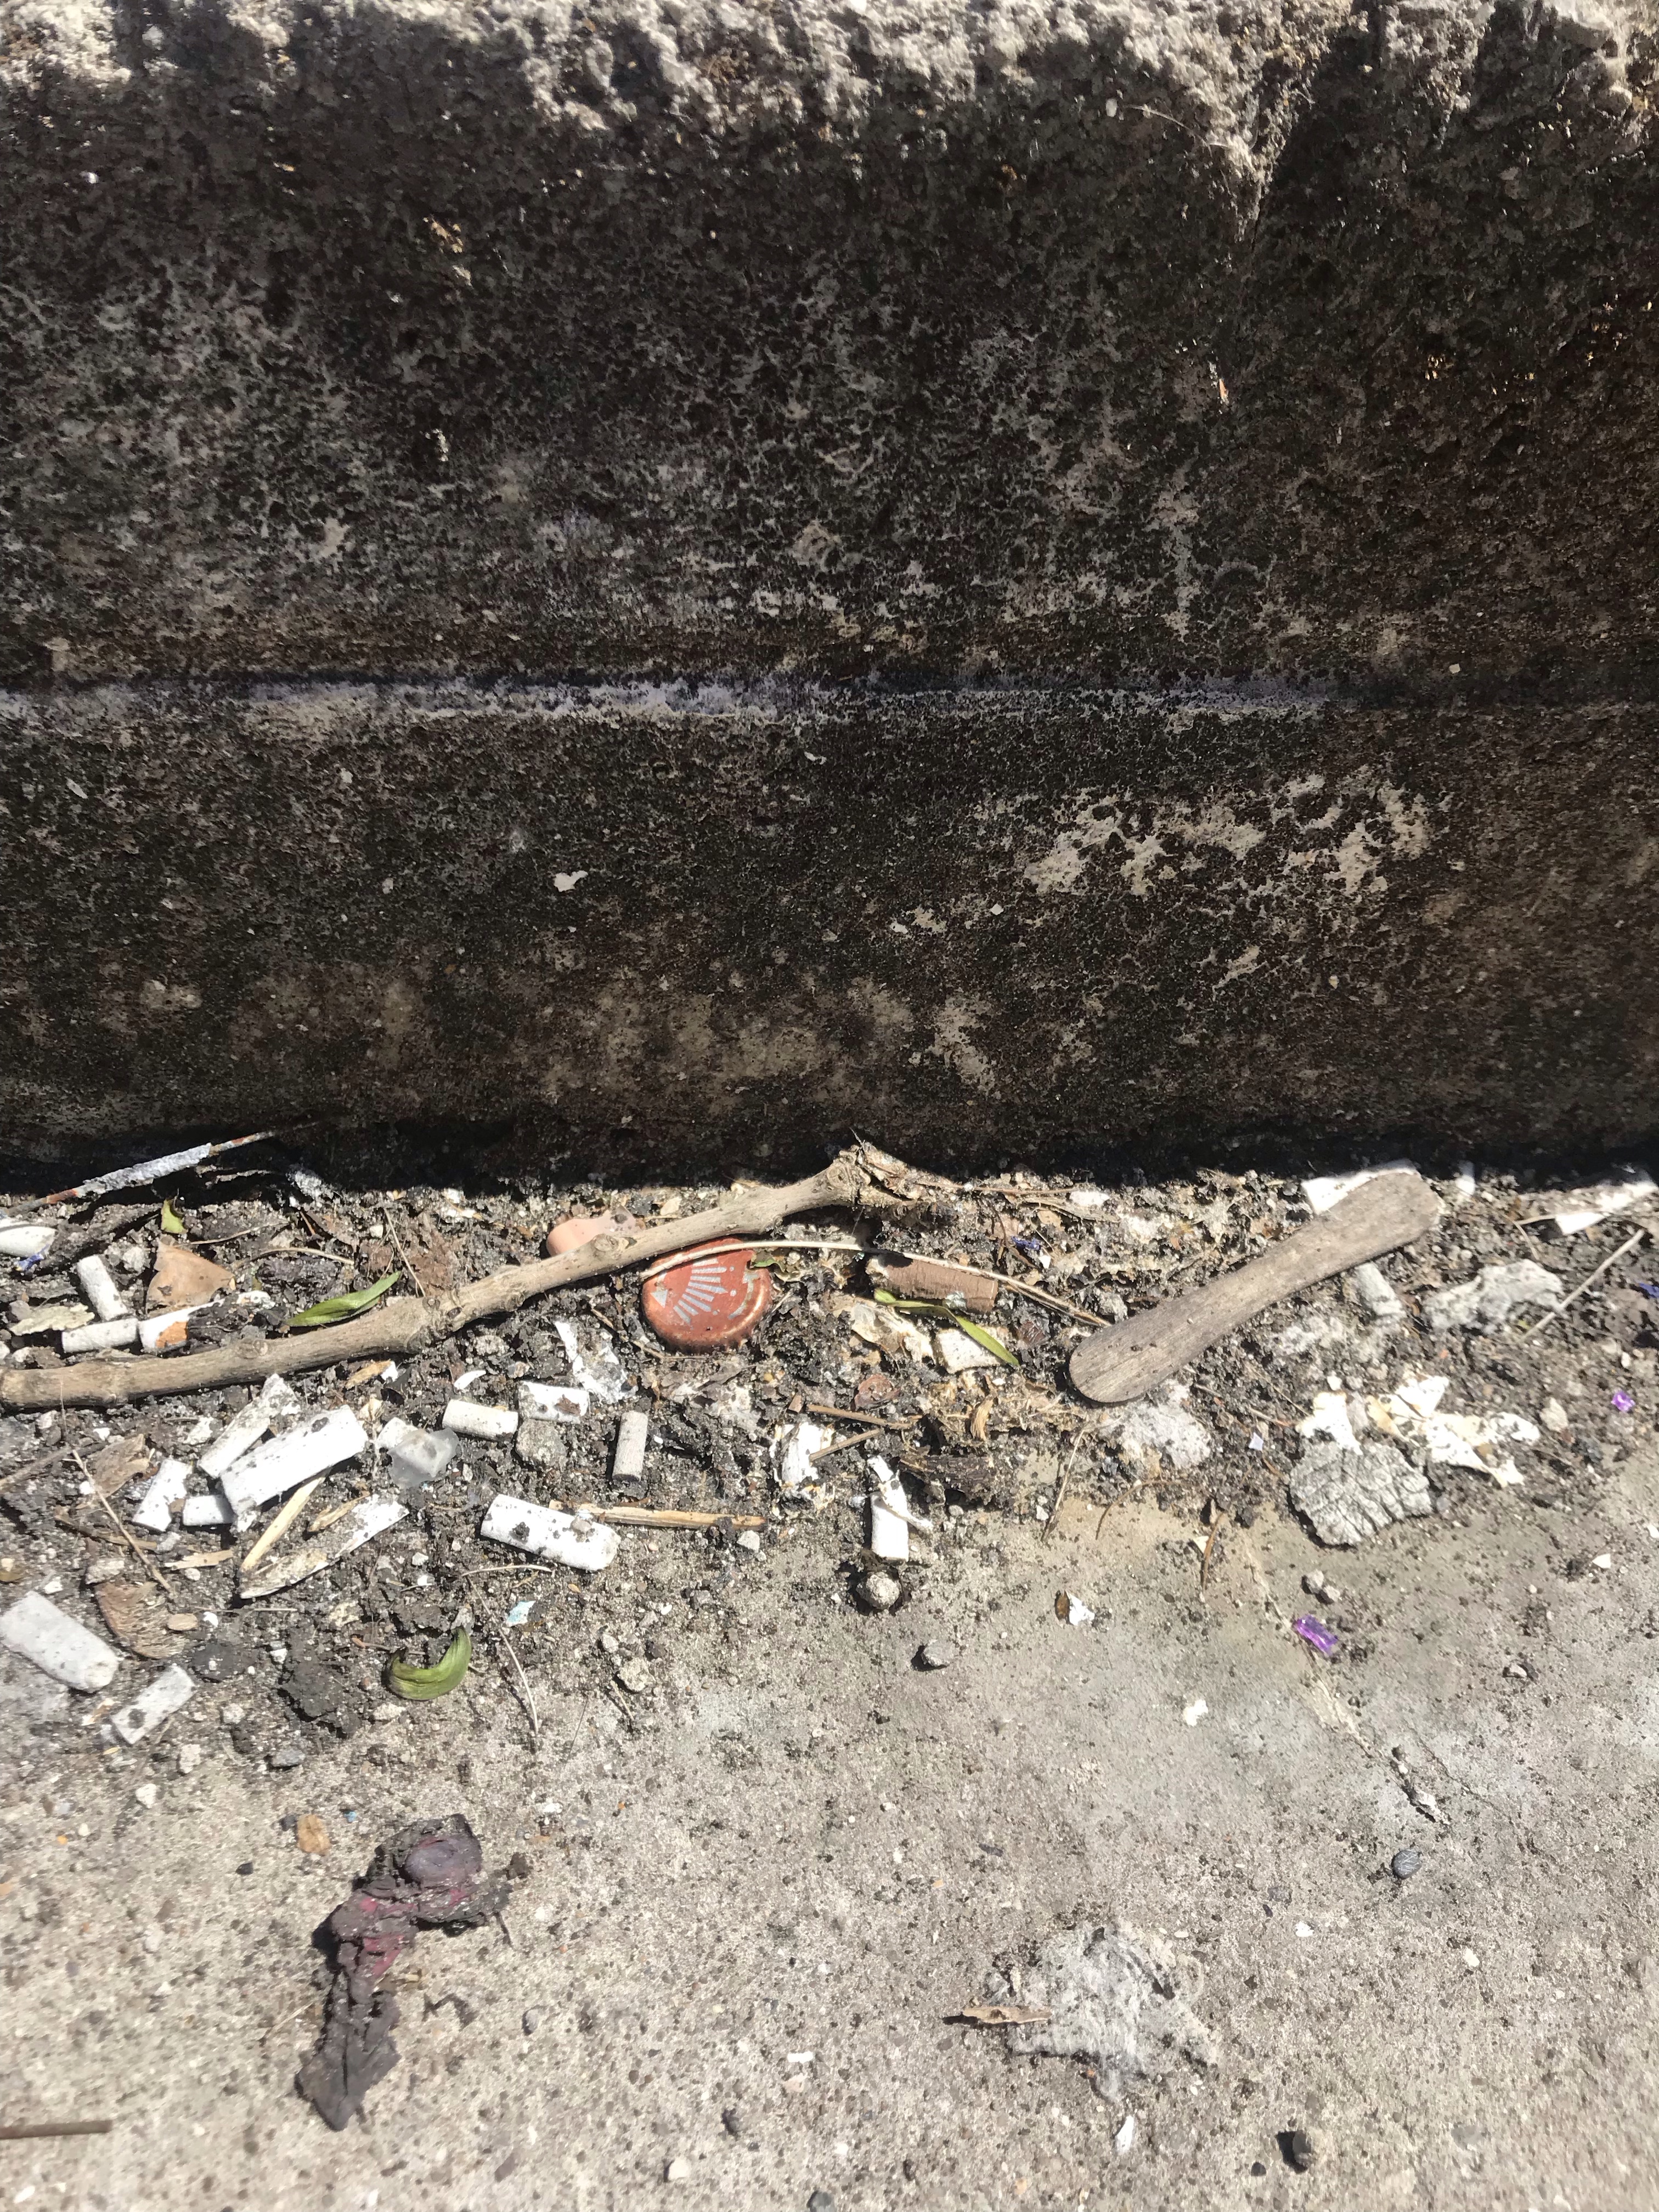
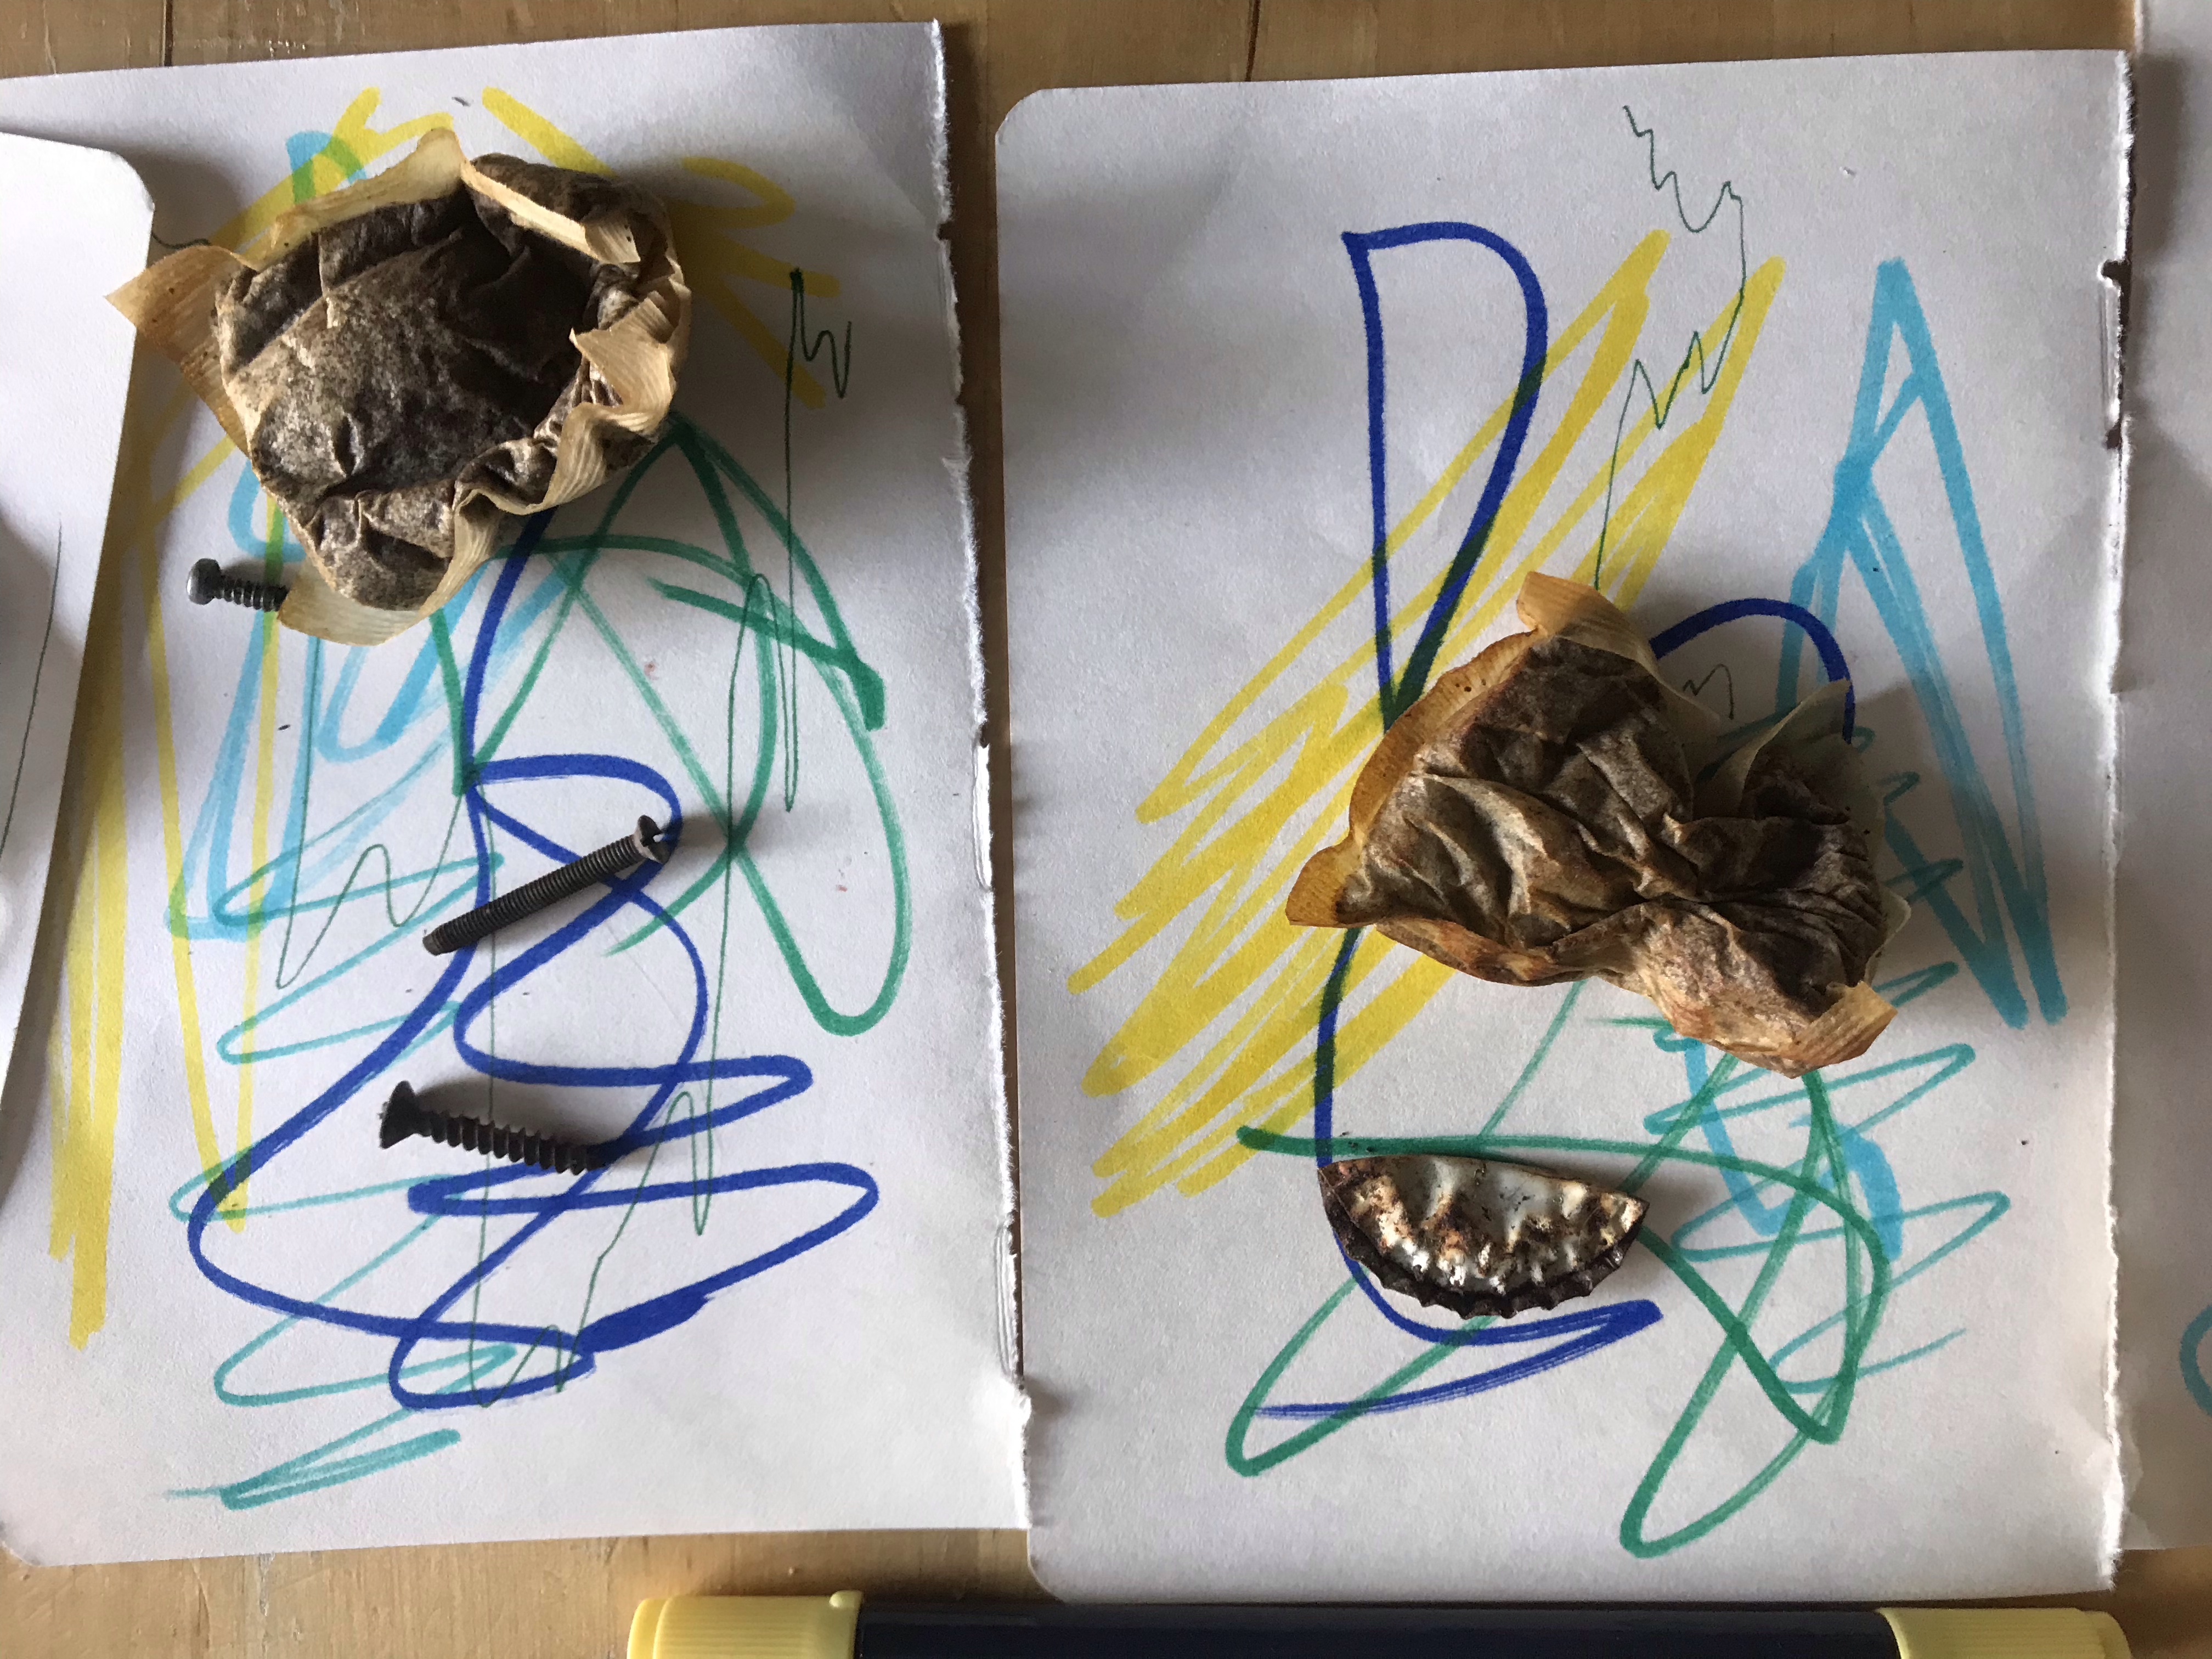
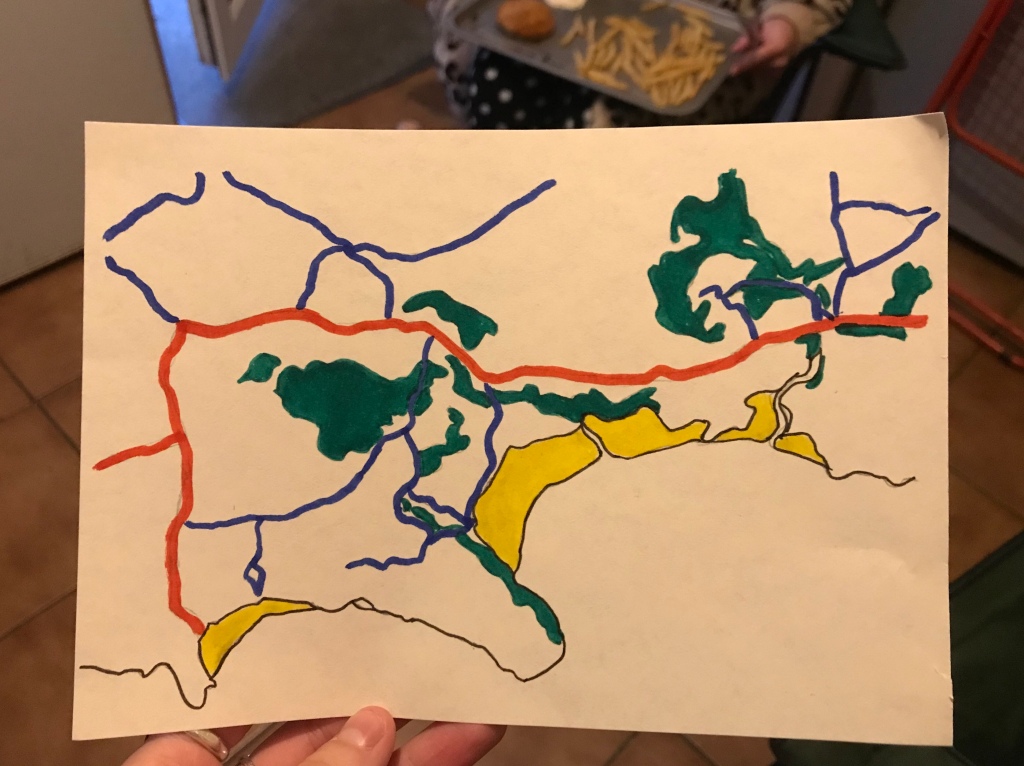
After creating my pulp experiment pieces I decided to try and painting them like in images i used for inspiration. However I decided to go with different colours to the inspiration piece as, there’s was based on rusty objects but i wanted mine to fit in with my costal erosion theme.

One of the difficult things about painting my pieces is that i only have water colour paints at the moment. I had to balance between getting enough paint on the paper pulp without breaking it apart by using to much water. Ideally i would have used acrylic.

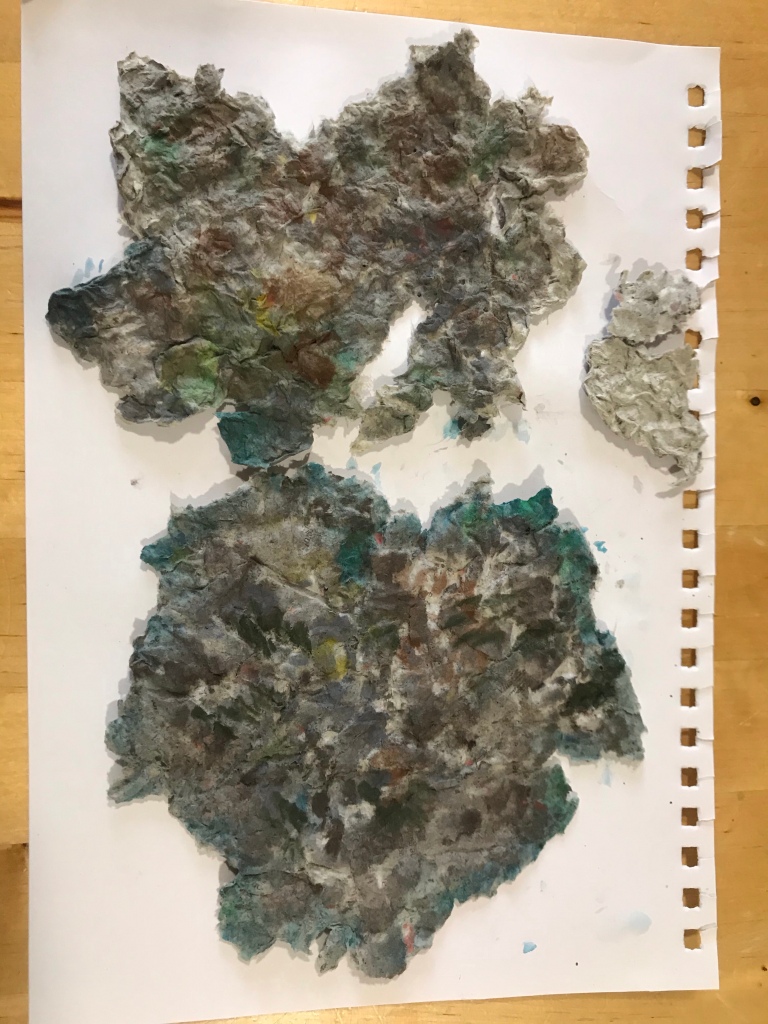
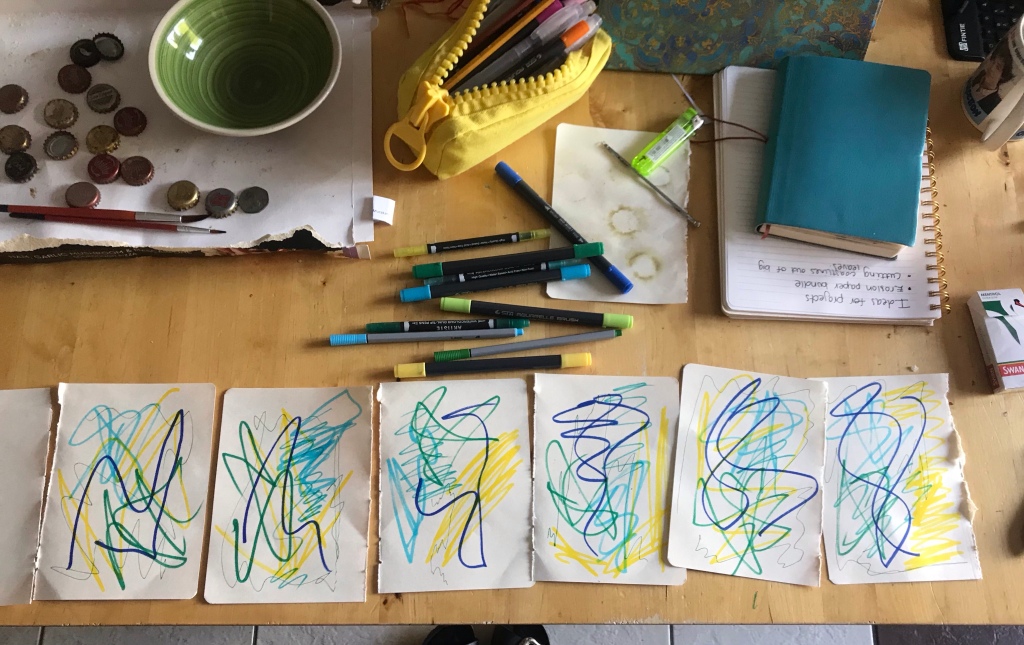
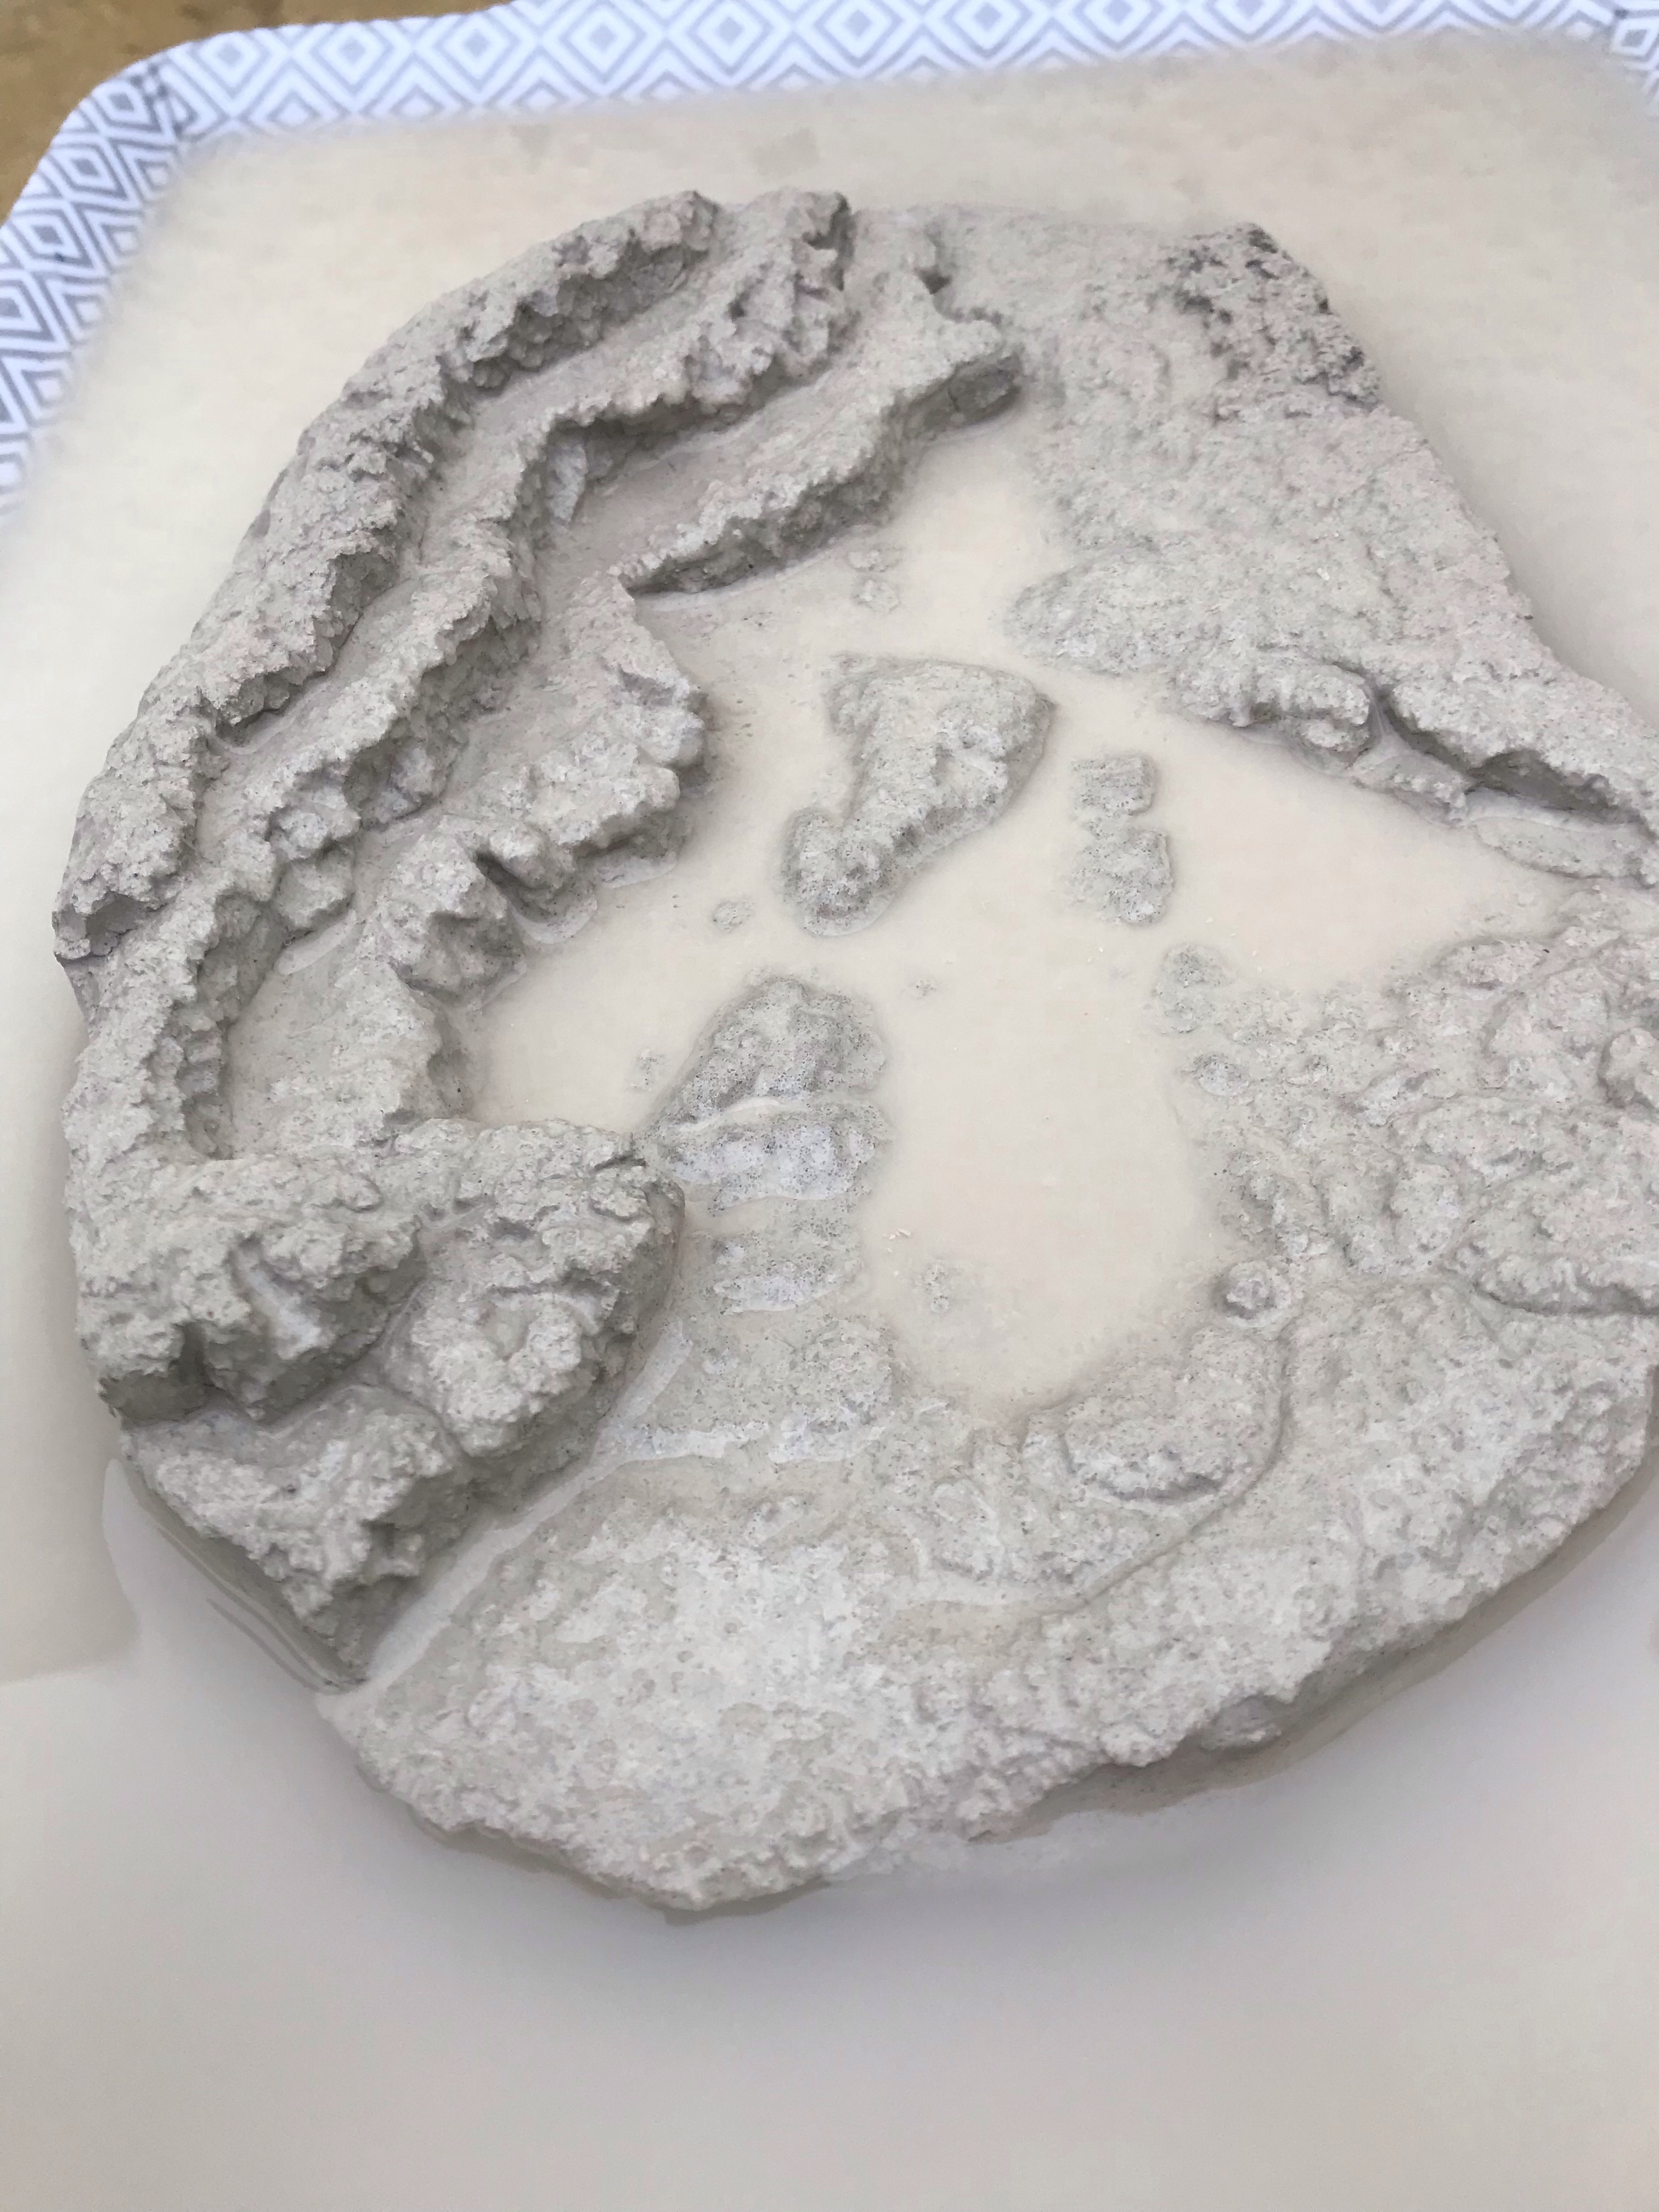
I used a mixture of greys and browns and yellows for the rock texture and blue and greens for the edges to reflect the sea

After some pieces broke away while i was painting I decided to stack them on top to see how it would look. I felt this was very successful it added layers to the pieces and reminded me of the way the Carboniferous limestone forms

I decide to break apart one of the piece and use it to create more layers

I would like to stick these pieces down as i feel it would give the piece a smoother ans more refined look however I’ve only got pritt stick at the moment and i feel that PVA would be the best glue for this job.

Overall I’m really pleased with how this little experiment turned out, using paper pulp to create art was really enjoyable and i ended up creating some successful pieces.

Paper pulp experiments

I decided to try out using paper pulp as a way to make sculptures based on images i had found on Pinterest.

Step 1 was ripping the news paper into small squares, i read that ripping the paper helps the paper absorb the water better than just cutting it.

Step2 was pouring warm water onto the new paper and letting it soak overnight. In hindsight in my first batch i used too much water.

Step3 after the paper was left overnight i began to mash it into a pulp with my fingers, ideally i would have used a blender but unfortunately I don’t have one. I did however use a whisk to mash the paper pulp and that worked quite nicely.

Step4 once the pulp was ready i used my hands to scope it out of the bowl squeezing the water away and placed it to dry on 2 different textured surfaces, scrunched cling film and scrunched foil. I then left the pieces out to dry over nigh.
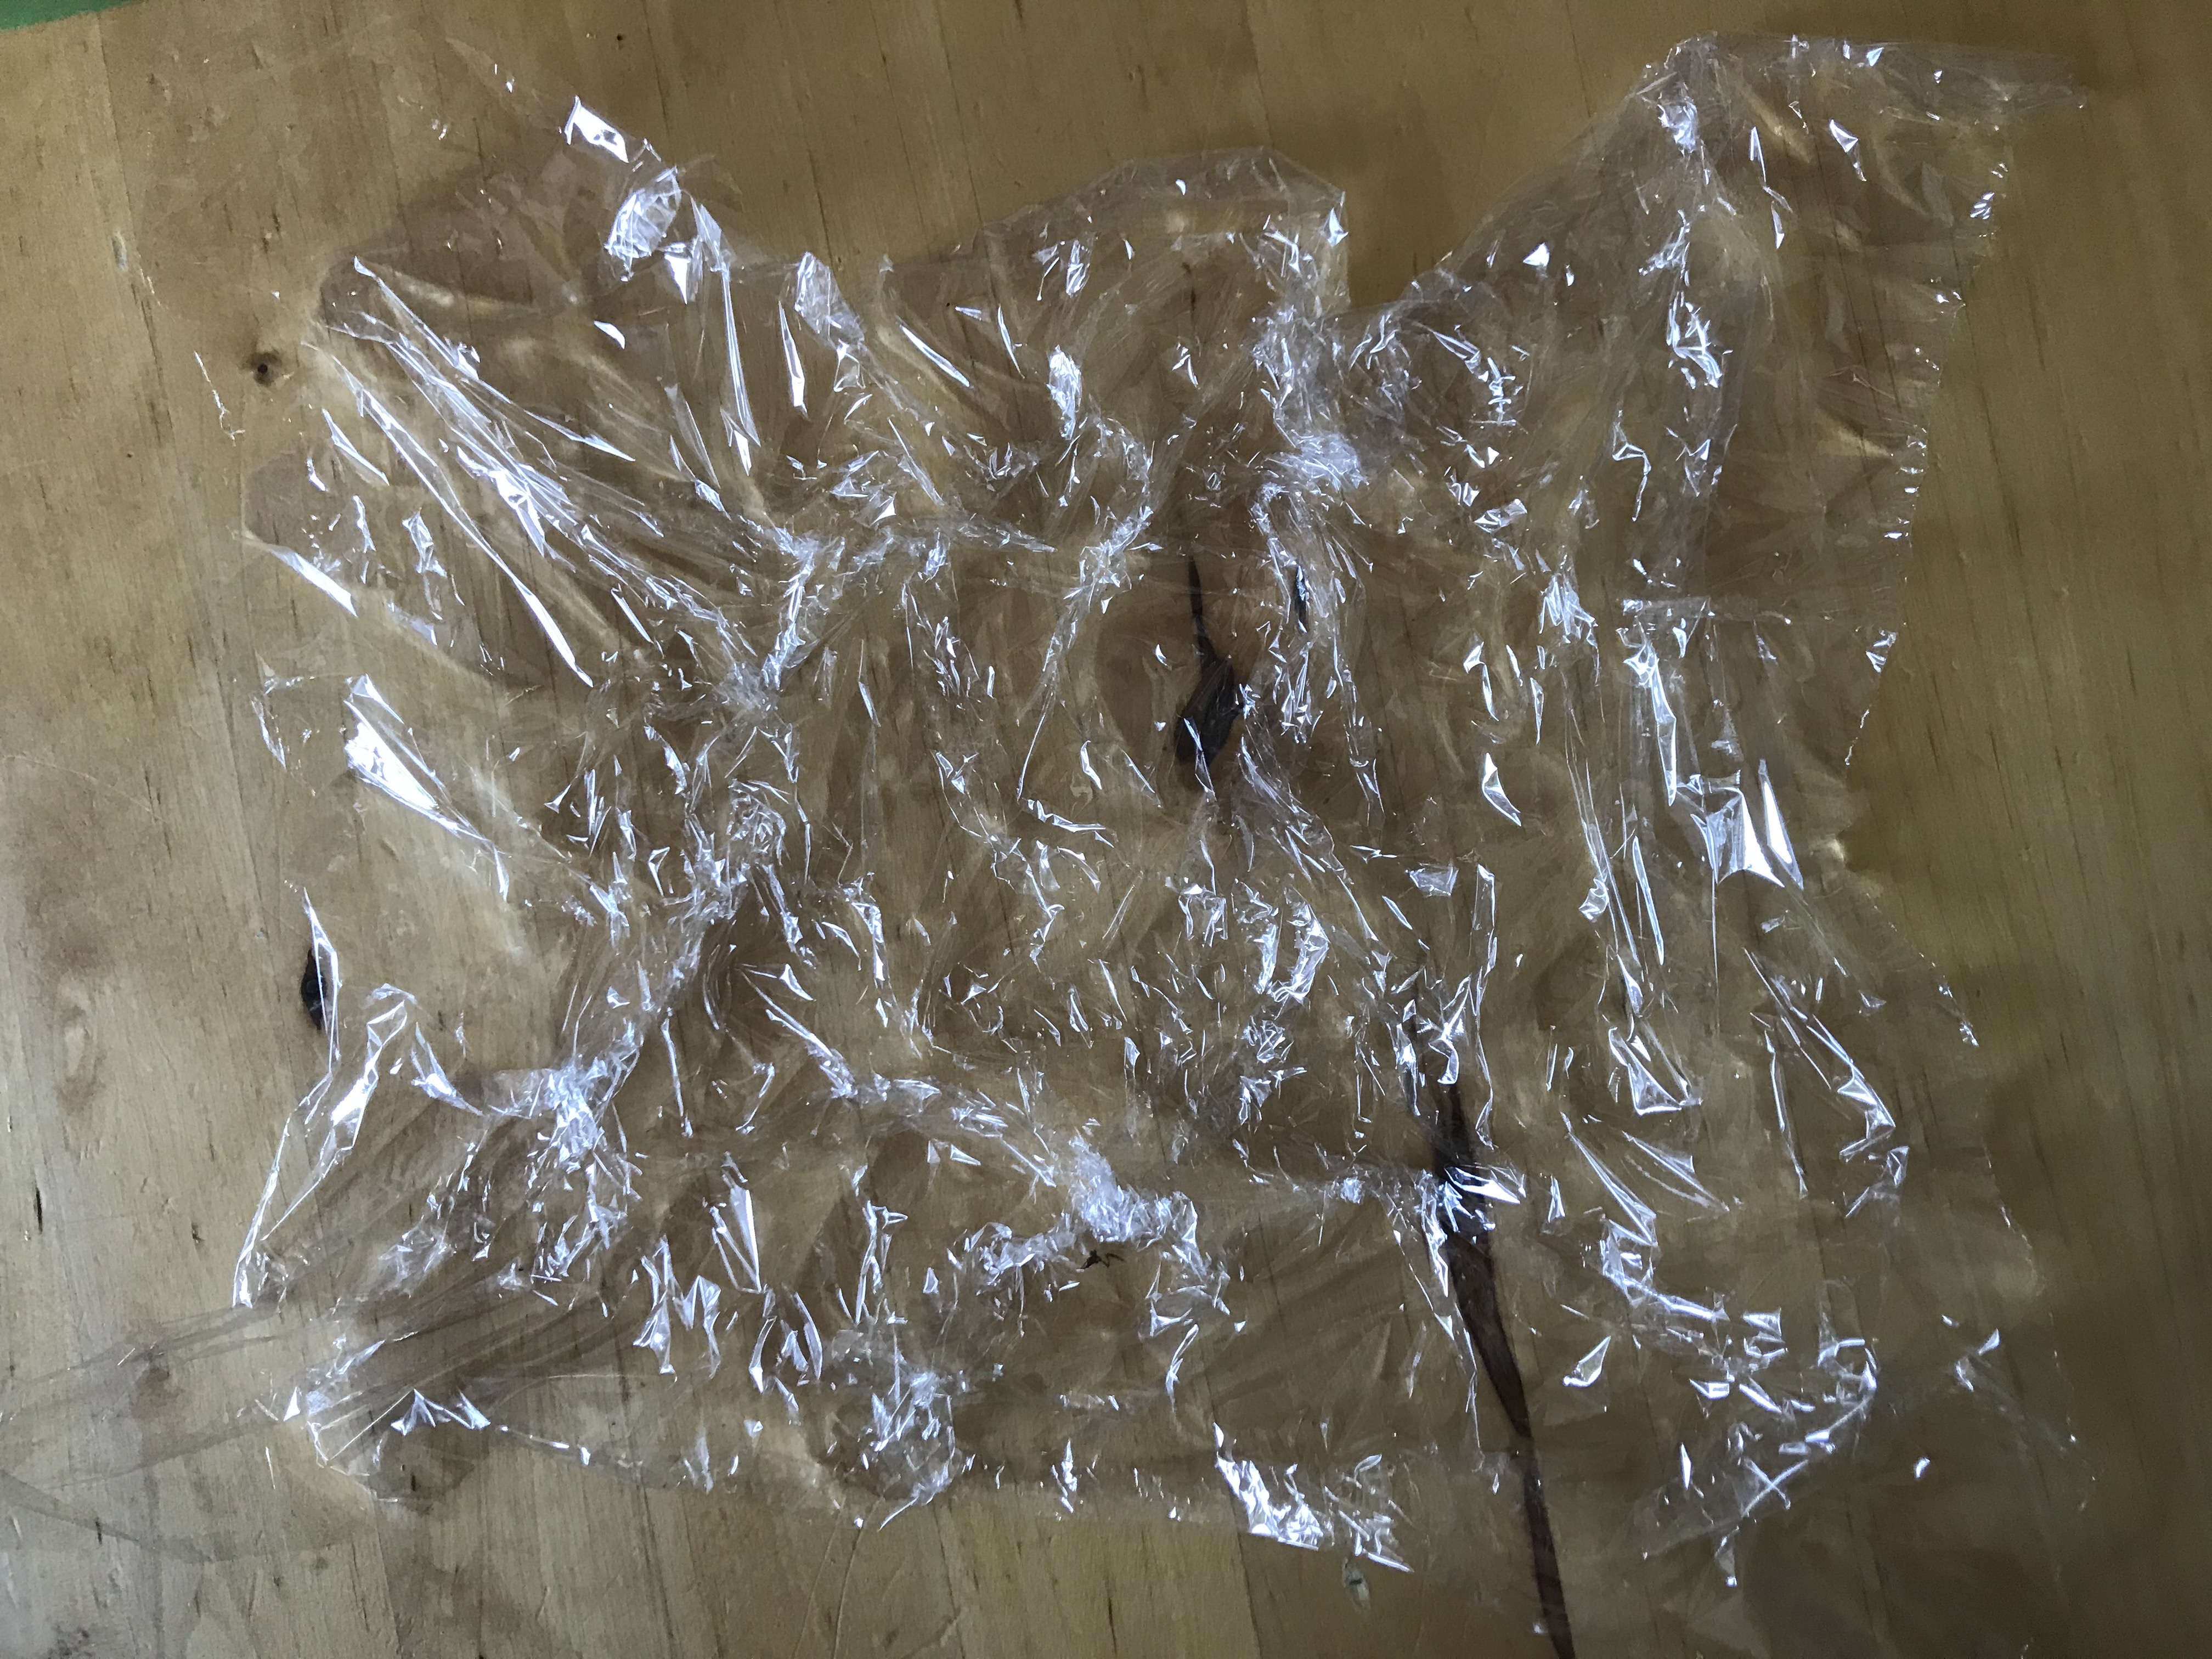
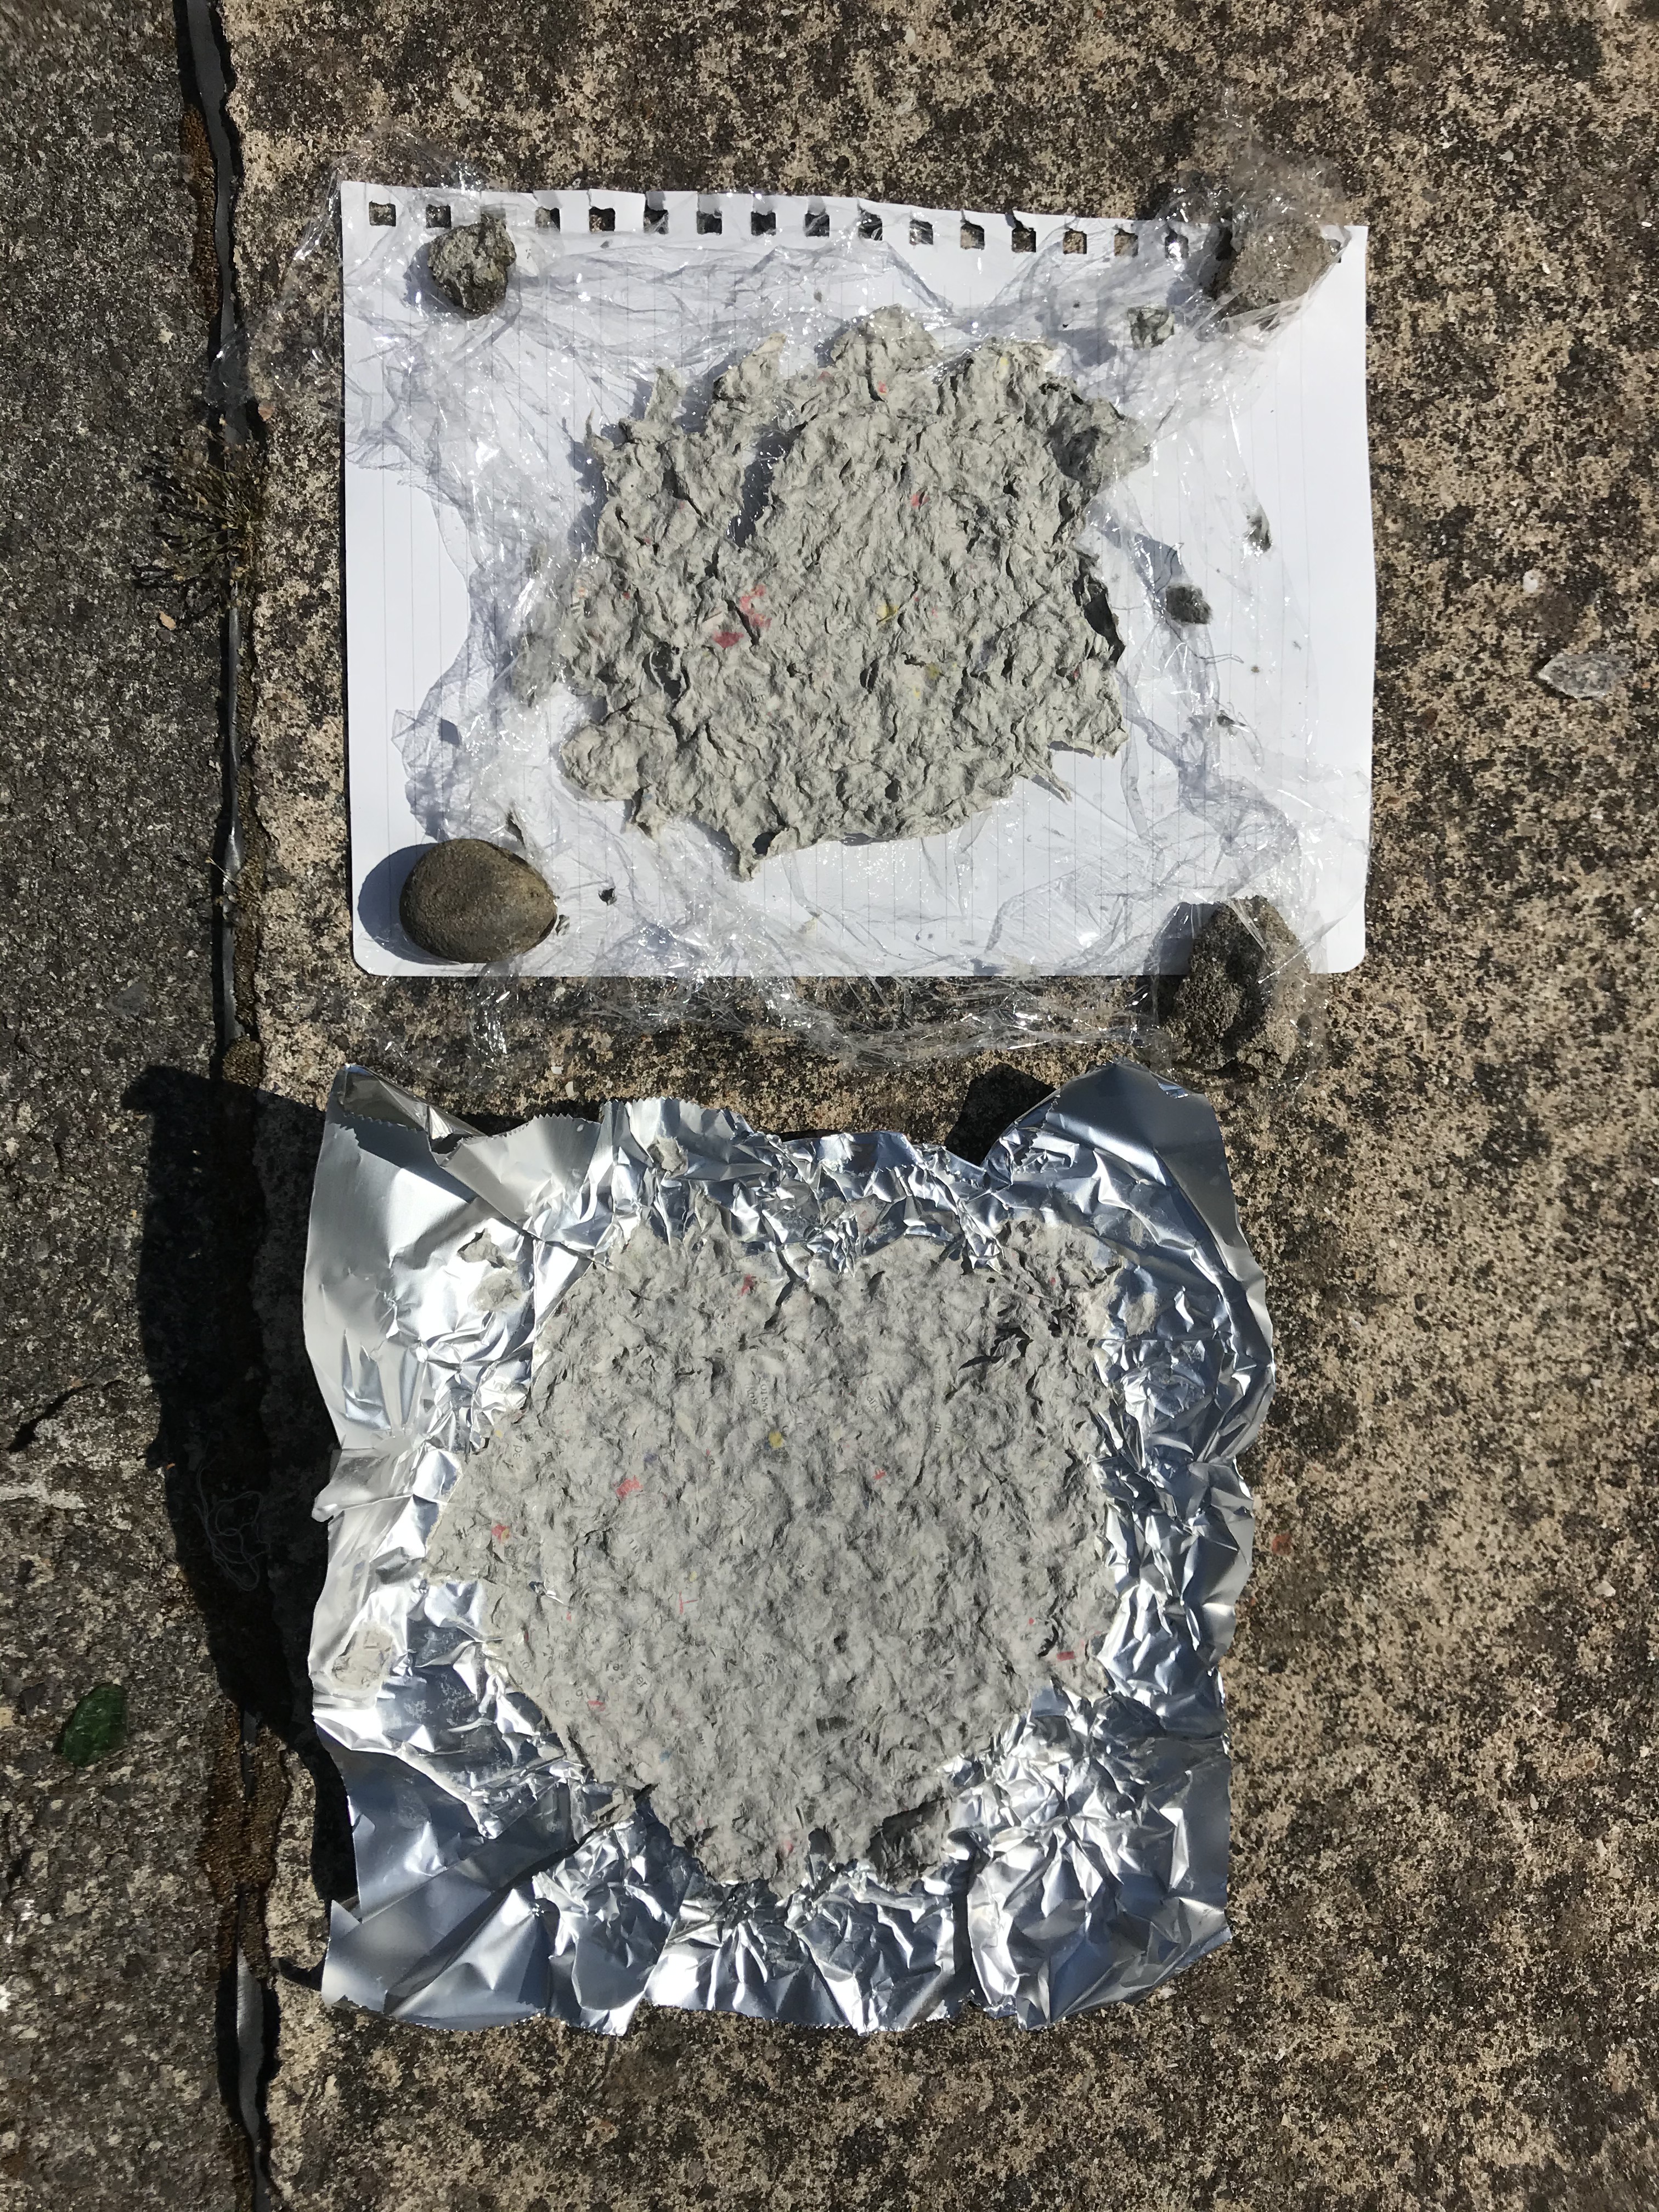
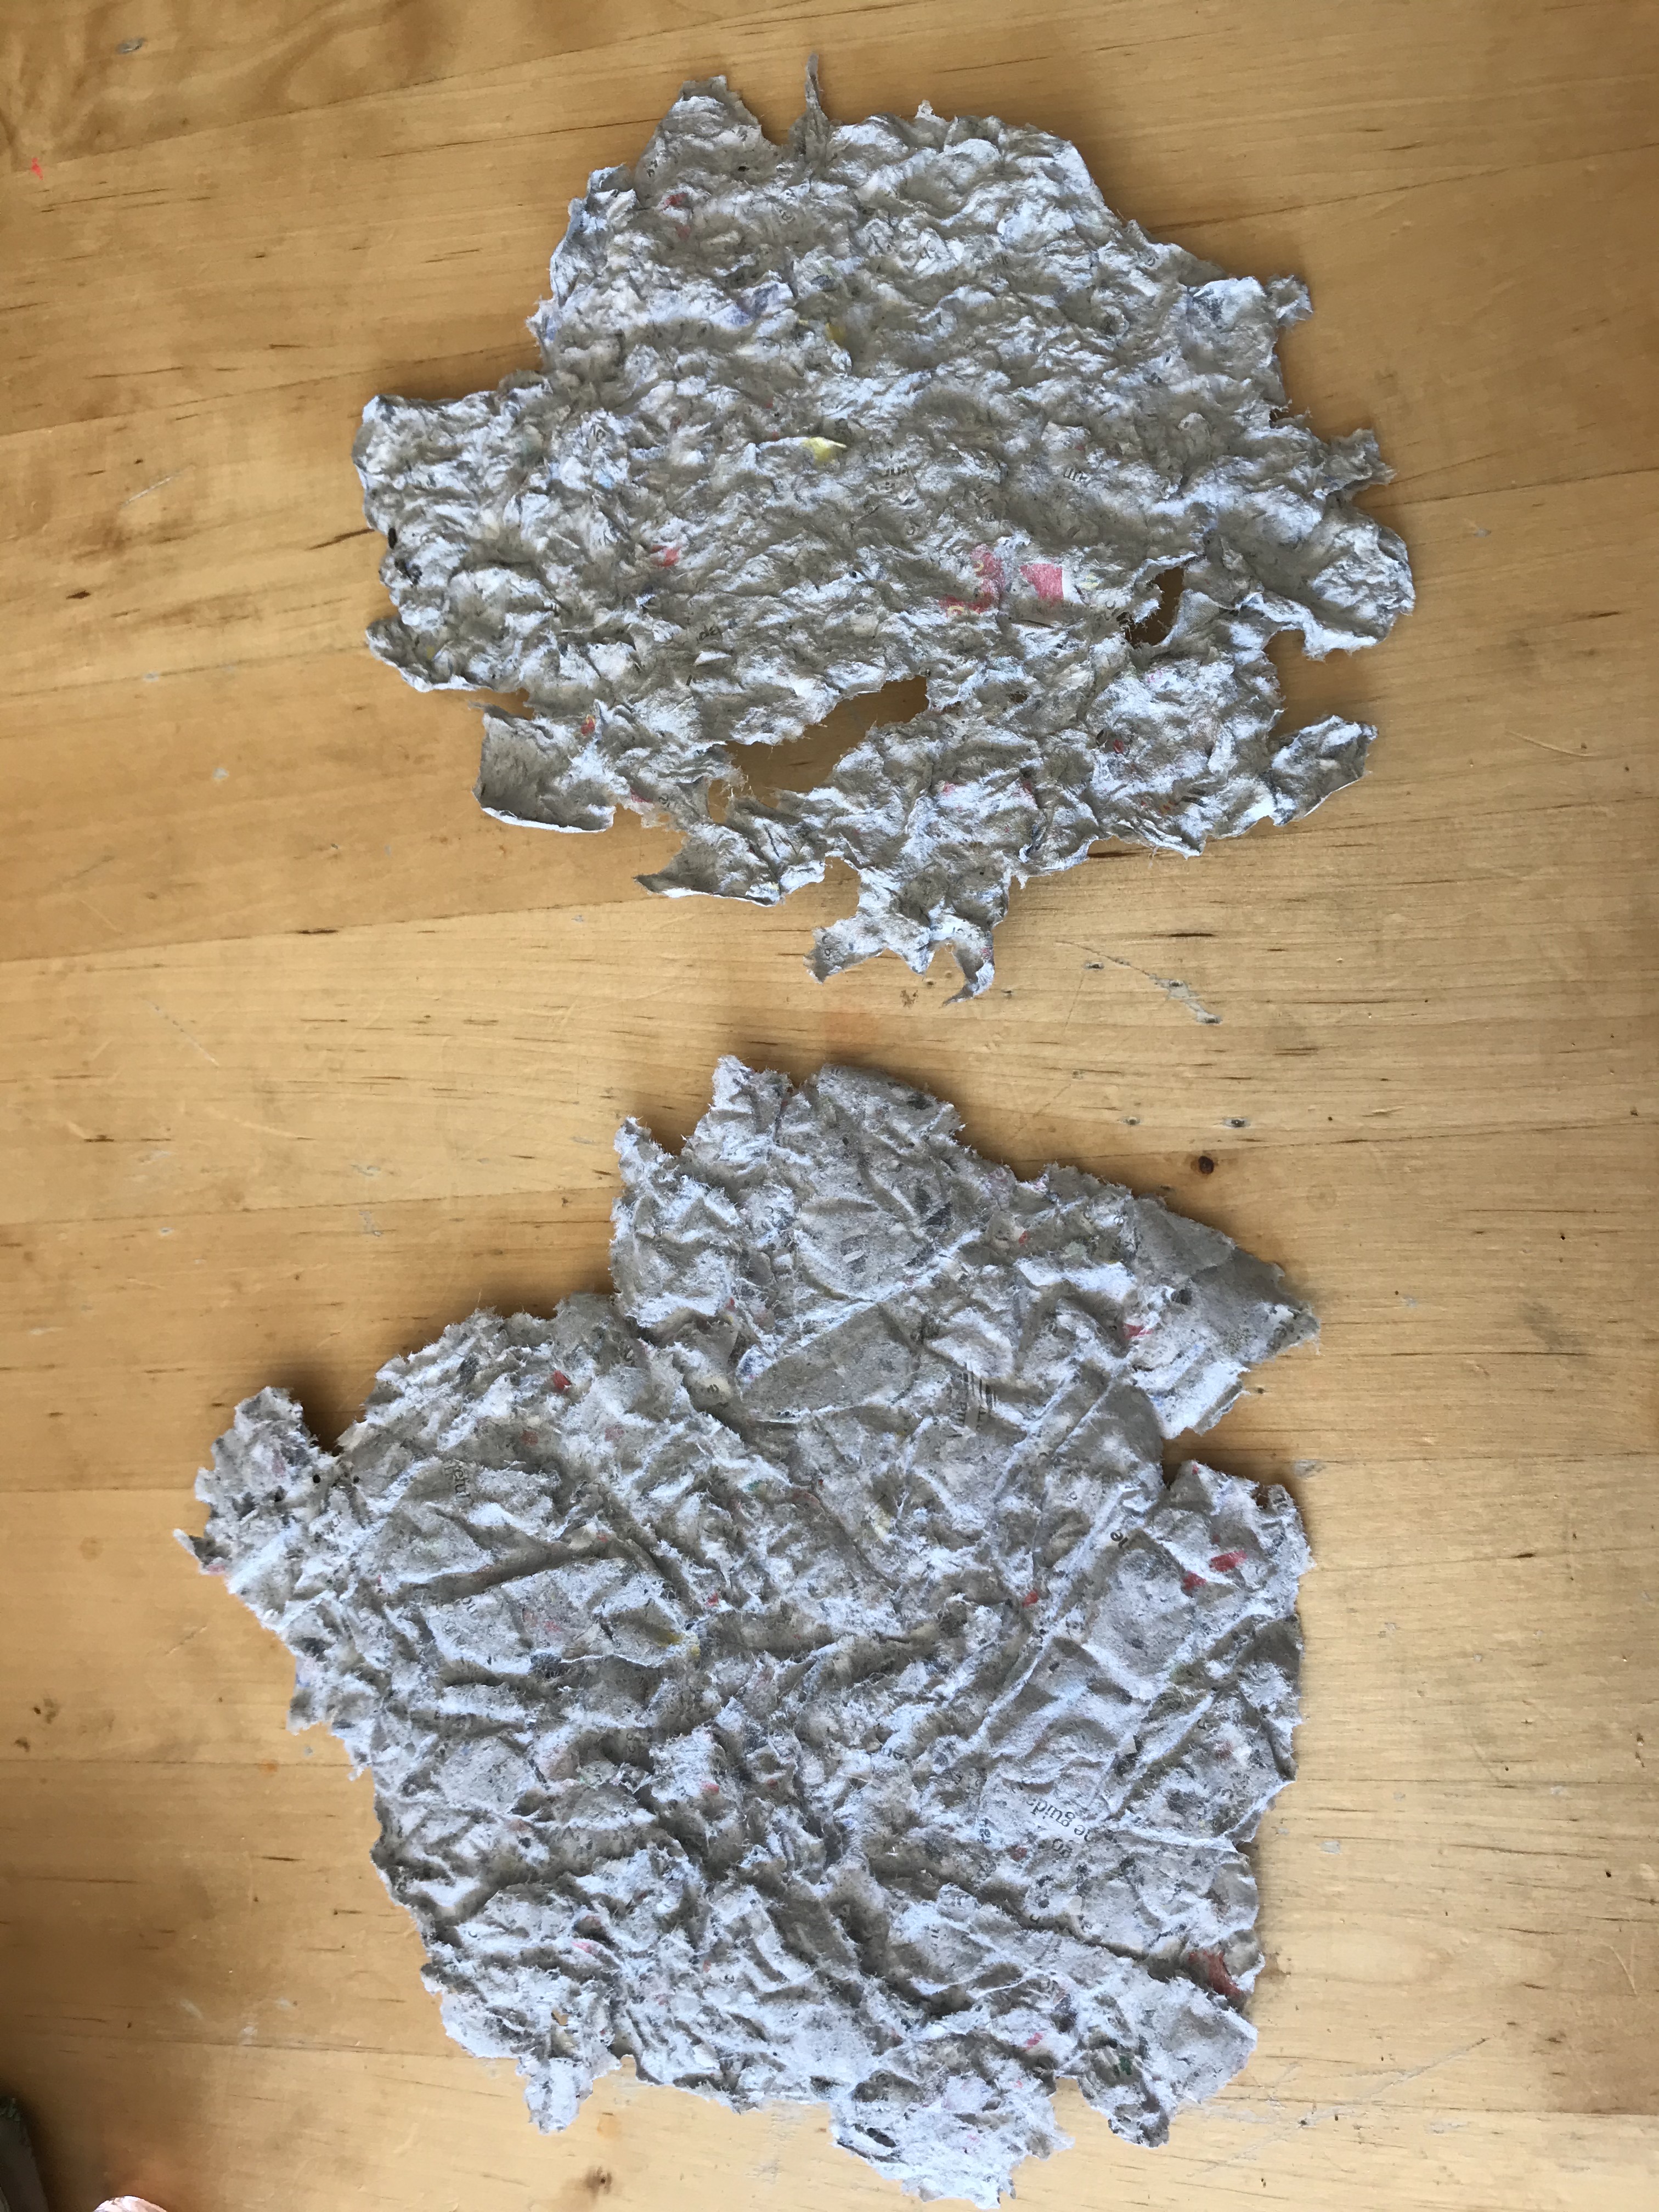
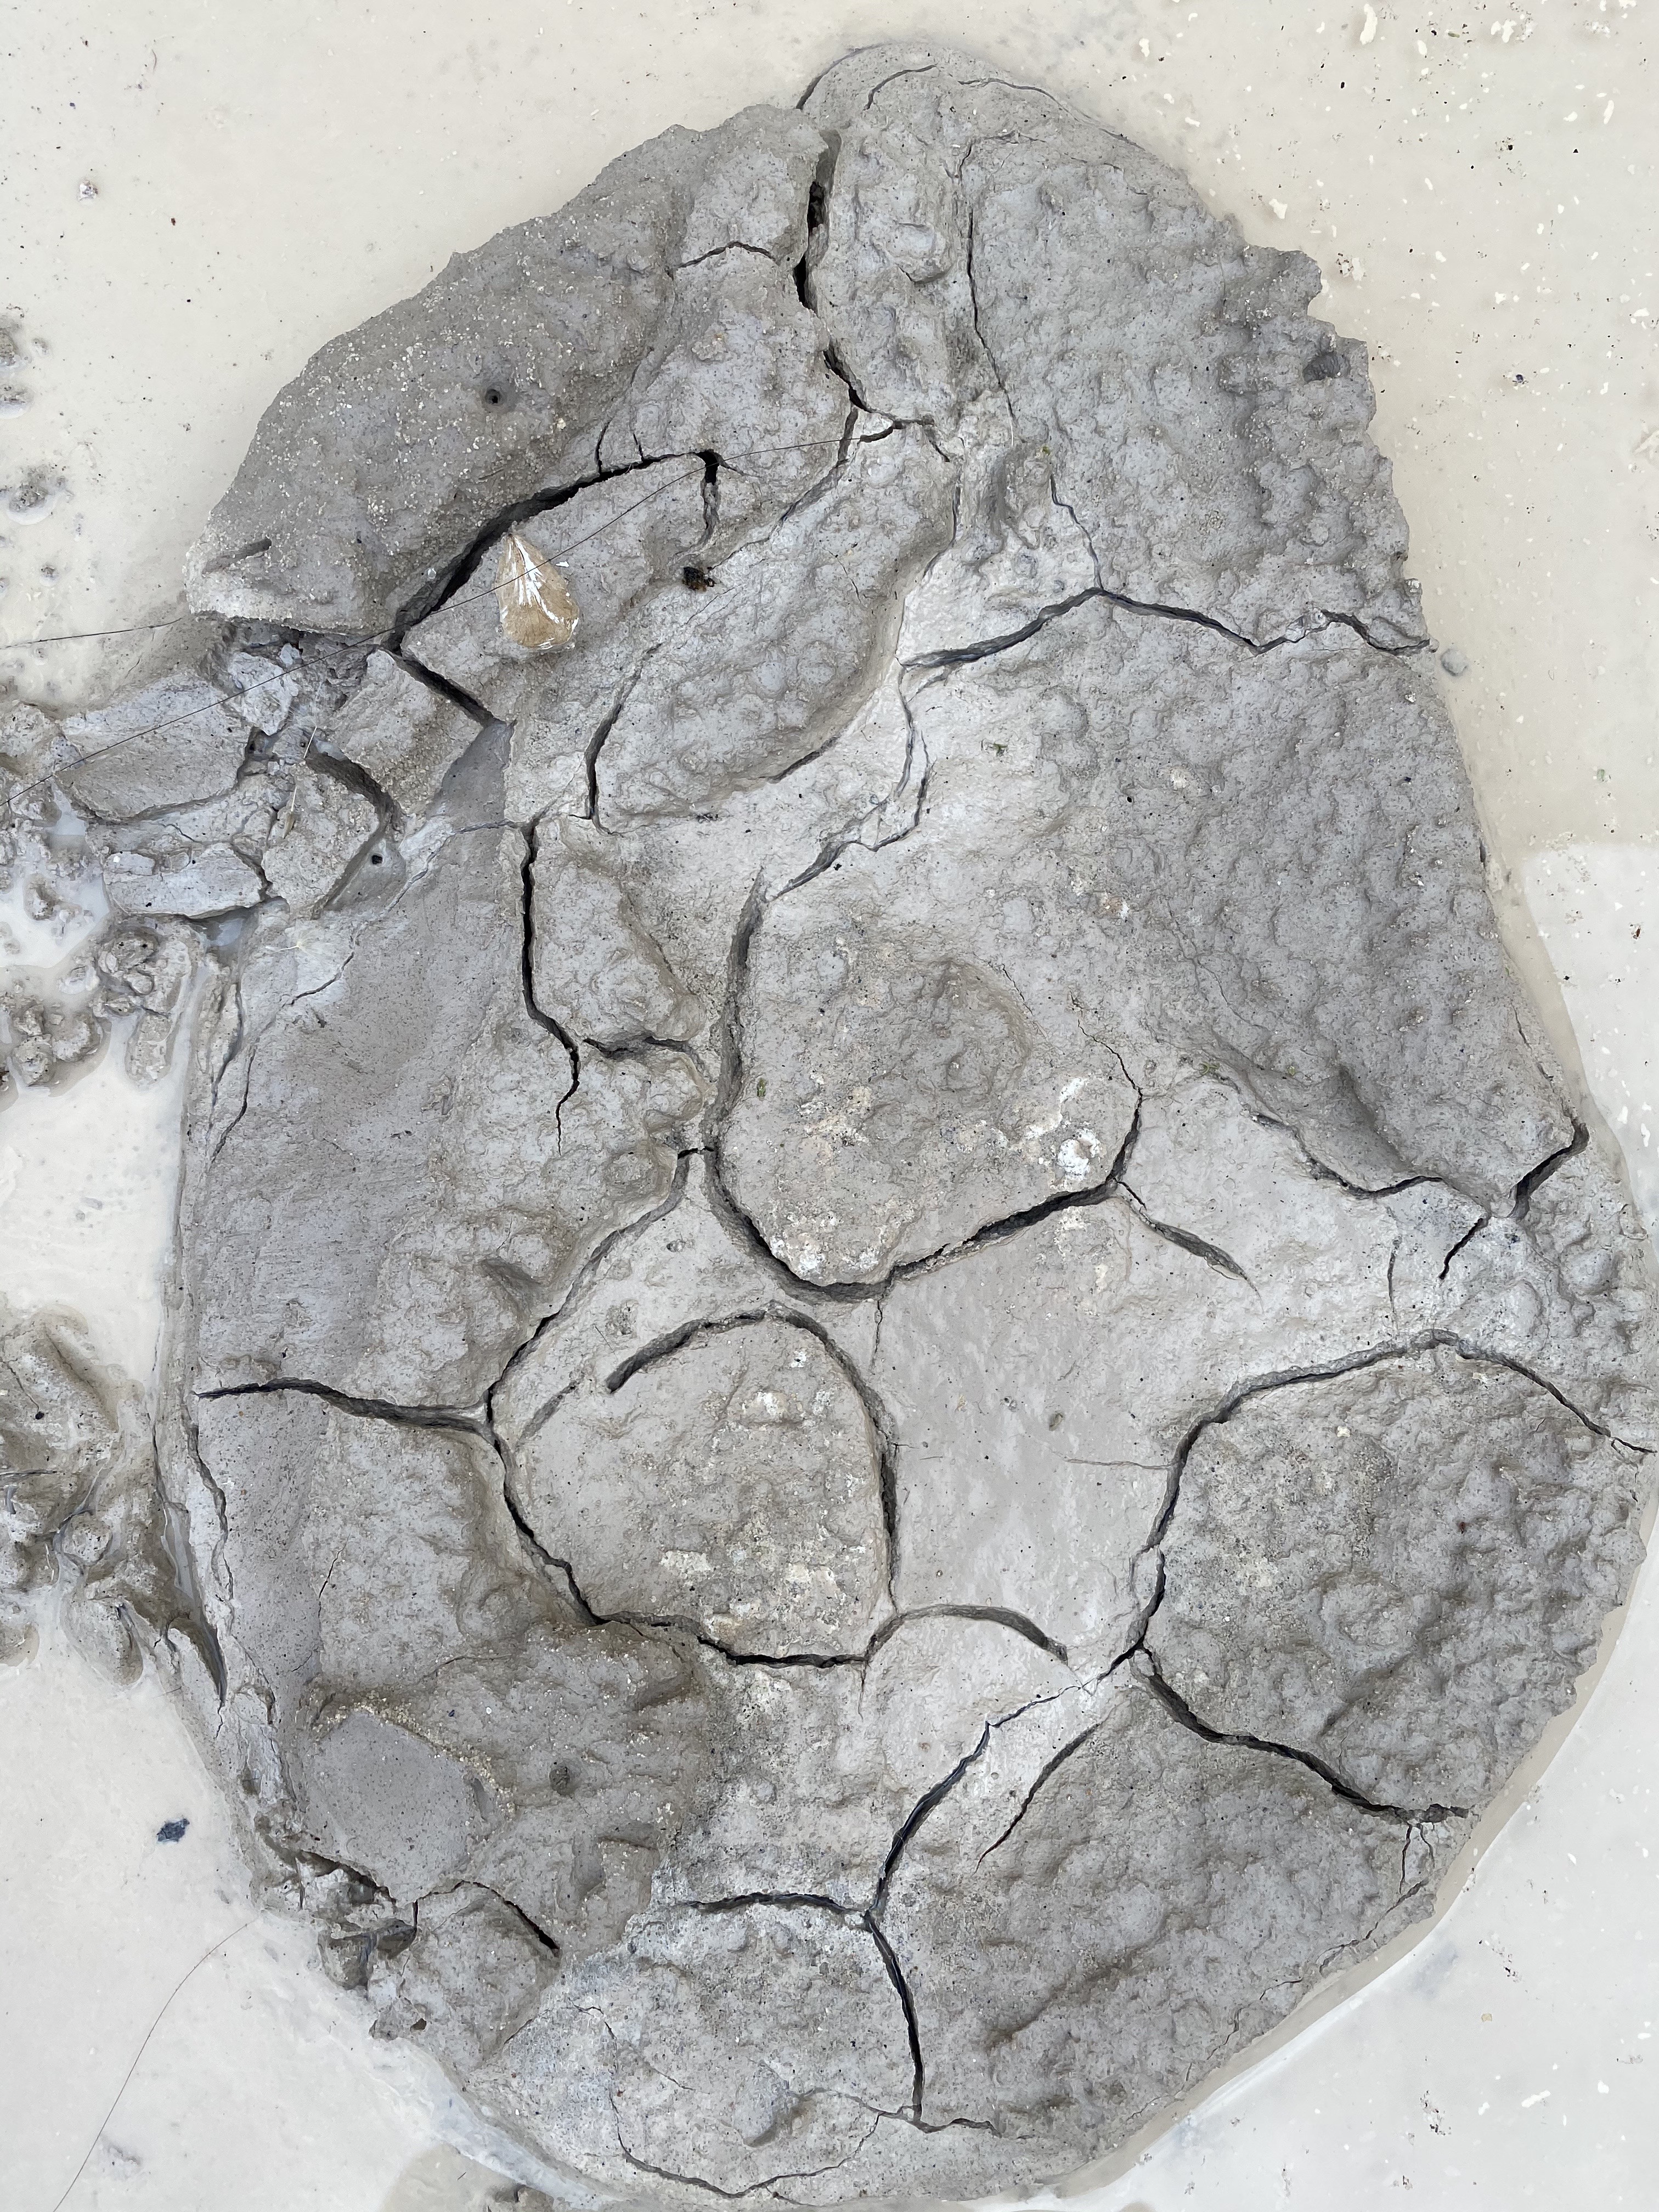
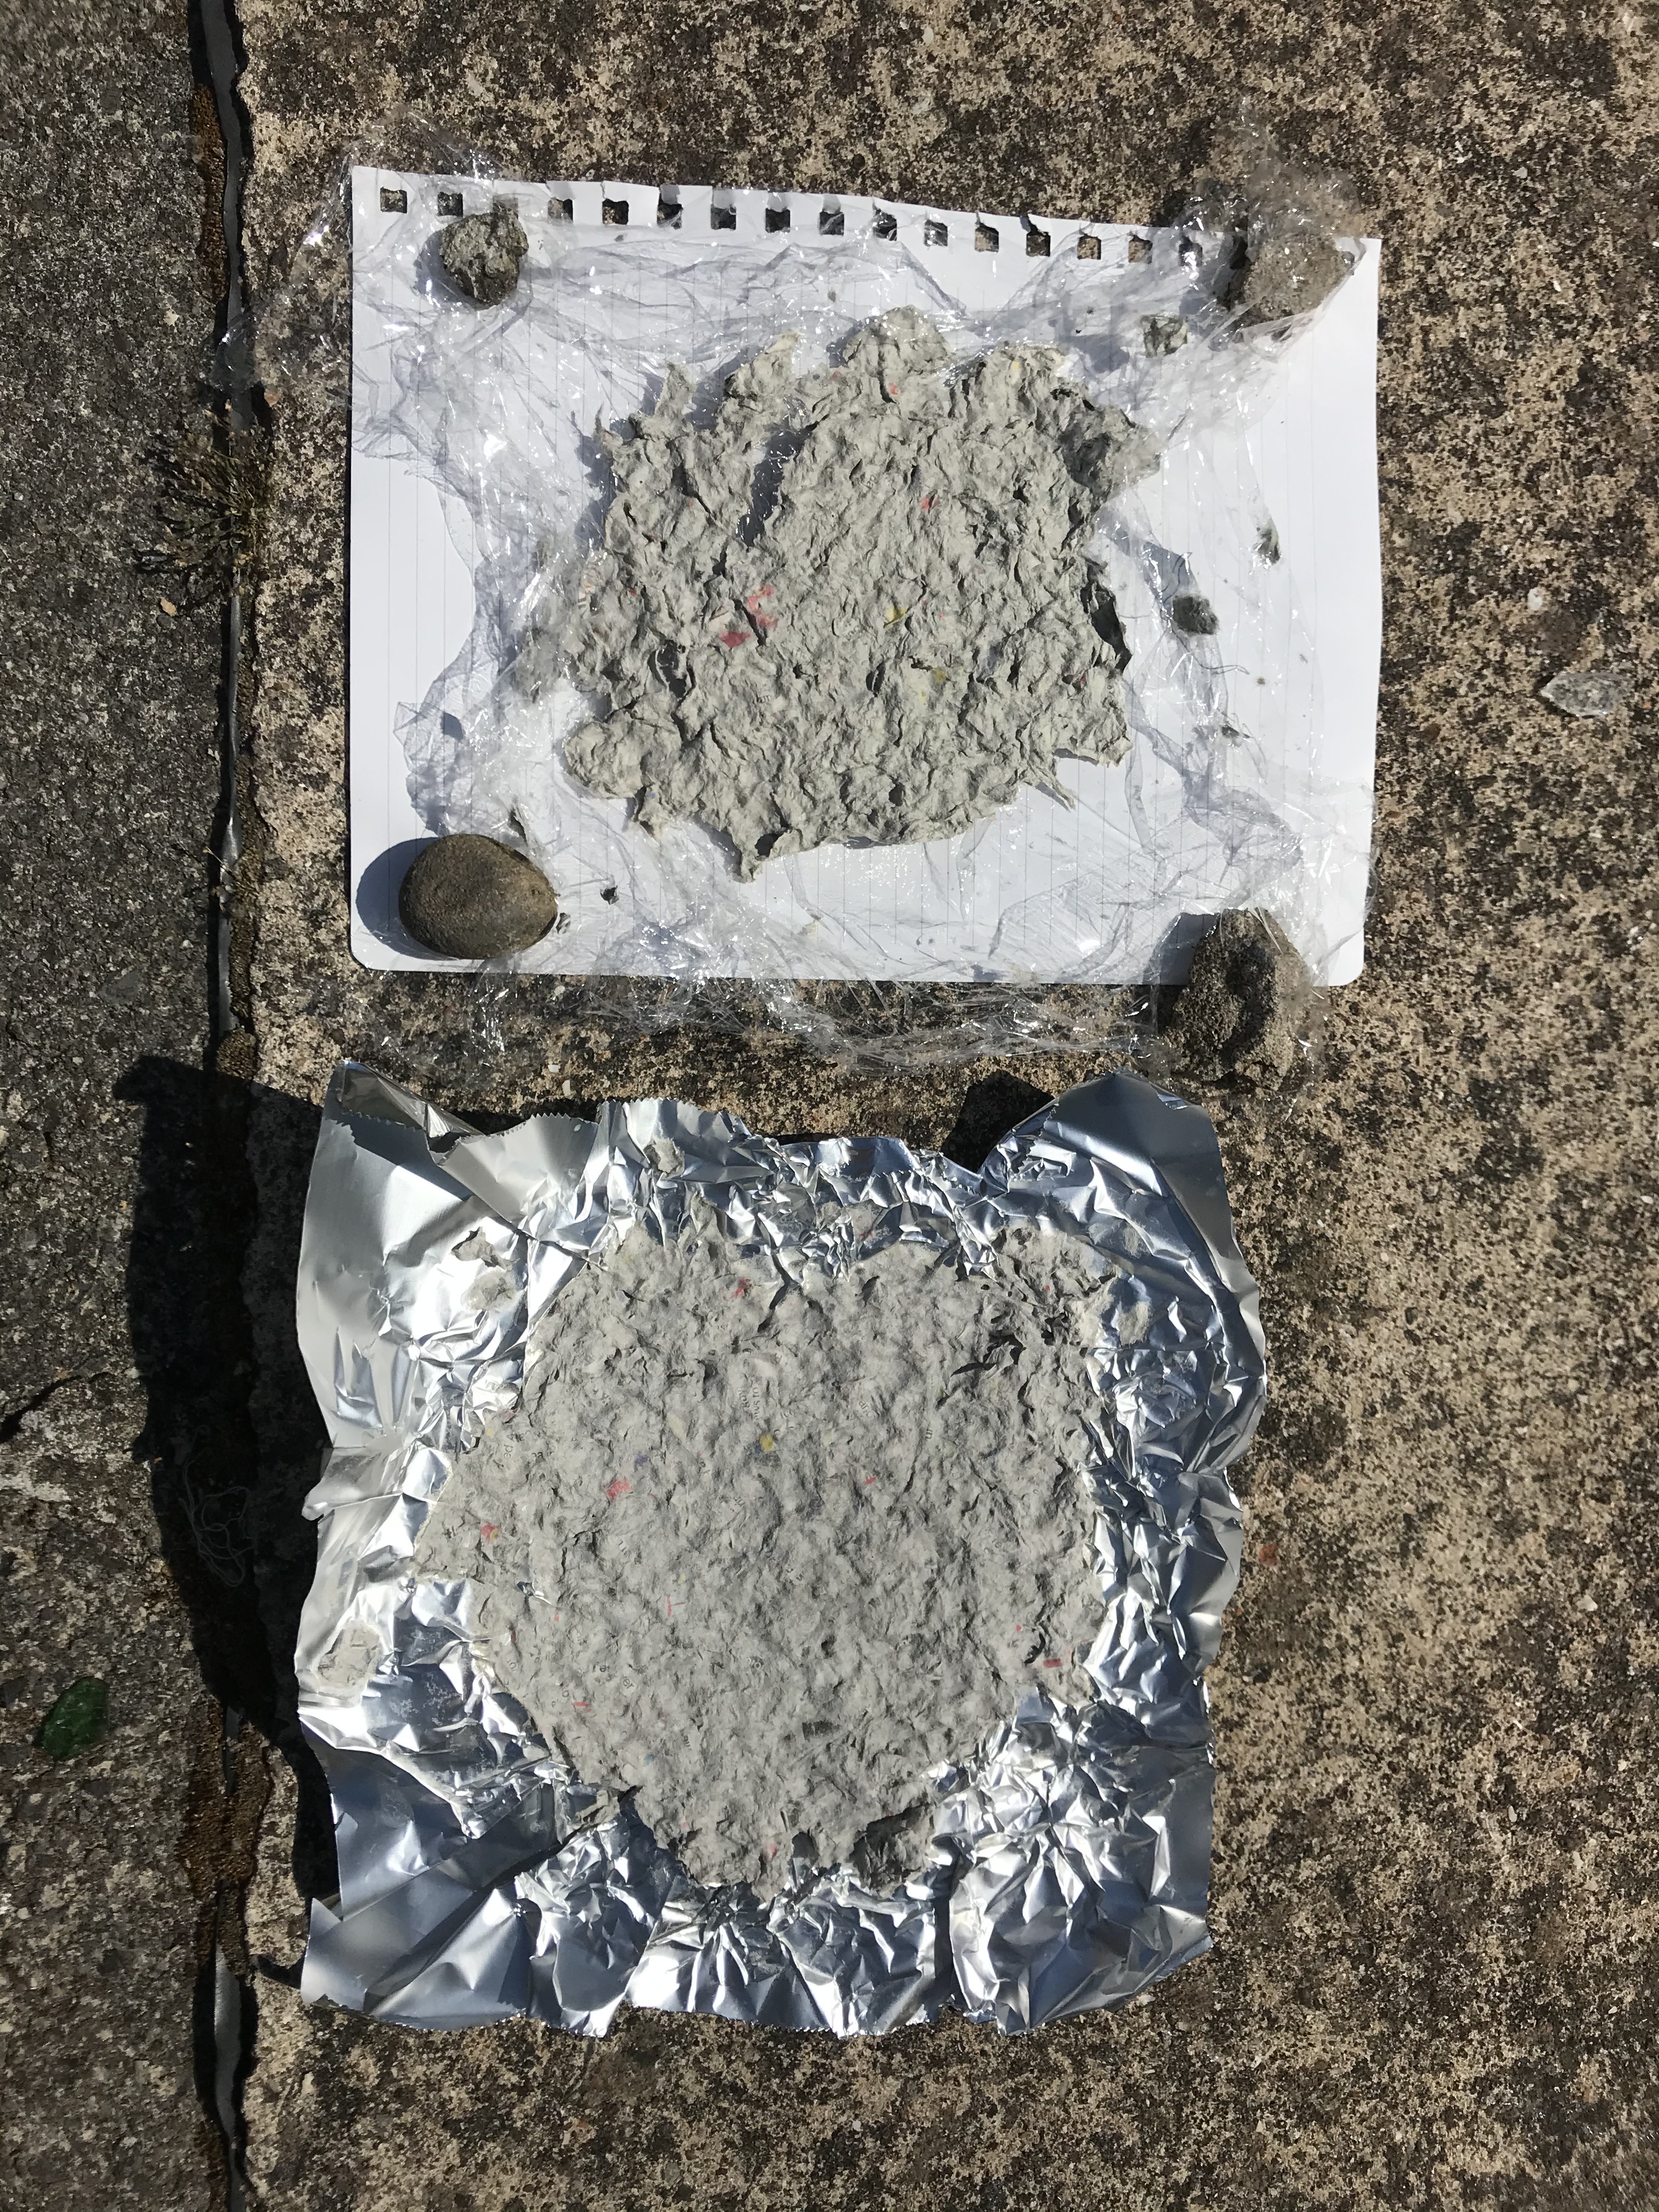
this is what the undersides of the pulp looked like, the cling film did not seem to give a prominent pattern but the foil produced a lovely texture

Erosion art

After doing some more reasearch into erosion art i came across this beautiful sculpture made out of paper pulp . Unfortunately this image was found on Pinterest, i could not find the original artist of this piece to give credit. I looked up the website that is given underneath the photo but could find no reference to the work on the artists website, i can only assume it was collected as reference piece.

This piece really inspired me to have a go at making my own sculpture just like this. I could easily adapt this for my project making the sculptures into landscape shapes or beach scapes based on my reference photos. I could then place my piece outside and watch it erode, it being paper this would properly take a few days to erode making it a simple but effective way of working.

I will first create some samples and try out different surfaces to make different patterns and then try adding some colours. Keeping to beach/ coastline colours- this way of working could be representational but also abstract.

Ive actually never made paper pulp before so this will be a new technique for me to try. I plan to do some research into how to make it and look into some artists that use paper pulp to create art.

Rust painting

After collecting a number of rusty bottle tops for my erosion bundle it got me thinking. what else could i do with them? I decided to try making some kind of paint with the rust. Using eroded materials to make erosion art.

The first thing was give them a little wash

Once dry i then tried to make a paint/stain. The first thing i tried was scraping the rust off the tops using various tools which i would then try and grind down and water too. However due to only having bottle tops it was really difficult to get a decent amount of rust to scrape off.

After this failed attempt i tried something different. I decided to try painting lemon juice and salt on to the tops to try and lift the rust off directly. I first started by rubbing lemon juice on to the tops with a paint brush and then painting it directly onto my paper.

This wasn’t that effective to i started scraping at the tops with a craft knife and then brushing on the lemon juice, this seemed to give a darker stain. To push it even further i used a wire scrubber and gave the tops a quick rub over then applied the lemon juice. This seemed to give the darkest stain which i was quite happy with in the end.

Just a quick test piece i used the rust stain to paint the outline of the gower. the rust didn’t make the strongest colour but it could be nice as a way to age paper.

I also tried different things like painting a page with lemon juice then placing bottle tops on and placing a weight on top to ensure the tops didn’t move around. This made some really nice results.

Attempting to create my own erosion bundle

Inspired by the beautiful work and results by Evelyn Flint https://evelynflint.blog/2016/11/29/art-beauty-in-decay/ I decided to have a go at creating my own bundle. Due to the duration of this project I will only leave my papers out for 2 weeks but to speed up the process of erosion by watering my erosion bundle everyday

Due to not having any paint like she used I have gone for some water coloured pens instead

I went for beachy colours like blues yellows and greens as I want these pieces to tie in with my project and represent the coastline

It seems that the only good thing about isolating in my boyfriends shared house (he has lived with 9 boys for the past year) is that the garden, although a complete shit hole it was a treasure trove for rusty pieces to put in my erosion bundle. I put in bottle tops, rusty nails and screws and some rusty wire that I twisted into some unquie shapes. I also raided our tea making station and collected used green and regular tea bags and put them in my bundle as well.

I then sprinkled the pages with some turmeric, salt and and added some drops of lemon juice to help bring out the rust colours.

I then wrapped it all up and put a little stone on top to ensure it wouldn’t blow away and gave my little bundle it’s first water.

I will open my Bundle on the 14th of June just before my project presentation and hopefully I’ll get some good results, fingers crossed.

Erosion art

I decided to look at images of erosion art to get me inspired to create some more work. I came across these beautiful abstract pieces created by Evelyn Flint. She created these beautiful pieces by tying a bundle of papers together with different objects and left it outside.

She used things such as blobs of paint, teabags, turmeric, and rusty items to create these beautiful abstract pieces

https://evelynflint.blog/2016/11/29/art-beauty-in-decay/

These are some of the results after 3 months in the garden and i think they’re absolutely beautiful. I am definitely going to try this as a project.

Even the items she used to stain her paper look beautiful

Creating Landscapes from clay

After research techniques and creating a sample i decided to make a sort of final draft of my clay landscape. I filmed myself making it as i feel it adds to the sadness of it eventually dissolving away, you are able to see the time and effort that was put into making this landscape. I wanted to draw parallels between letting my pieces erode away outside to the current climate situation, using a material such clay allows me to portray a quick version of the type of erosion that would usually take thousands of years that is being dramatically sped up by climate change.

Day 1
Day 2
Day 3
Day 6 – attacked by a bird
Day 8
Day 8
Day 17

Day 21 – my flatmate stepped on it

Tutorial reflection

Before todays tutorial i was struggling on where to take my project next as i felt i have basically explored all the options with clay. However the tutorial has allowed me to gain a new perspective of my roeject and how to move forward. It was pointed out to me that I don’t just have to focus on one limited material and that there are other ways i can explore the concept of erosion.

Some of the alternative thing that were suggested that i am excited to move forward with are… playing with paper mache as it will erode and dissolve in the outdoors and rain, using materials such as salt to create images, creating my own play dough to create these 3D landscapes. Other things to consider such as the use of film and time-lapse would allow me to capture document my project, rather than present just the before and after of erosion.

I was also reminded that this project is a time to explore in preparation for the future and not just the present, encouraging me to exlpore my options for after university and the industries that are thriving and would appeal to me. It is something I wouldn’t have considered doing in this uncertain time.

Overall i felt that todays tutorial has allowed me to gain perspective, not just on my project but how i use my time in quarantine, i can look to the future and use this time to explore my options.

Artist research: Phoebe Cummings

Phoebe Cummings is a ceramic artist that works with unfired clay to create beautiful but ephemeral pieces. She creates temporary installations on site, that are often only captured as photographs or memories. Both the material and process are of significance in her work, the intensive labour and fragile nature of unfired clay all heightened by the fact that her work is of ephemeral nature.

Some of the techniques she uses to create these beautiful pieces include sprig moulds. She says in an interview about how her flowers were constructed for her v&A collection (pictured at the top): : Each leaf and petal shape is taken from a printed or painted surface decoration on an object in the collection. I then modeled the shape in clay and made a plaster sprig mold. Sprig molds are usually used to apply low-relief surface decoration to ceramic objects—Wedgwood, for example. From the molds, I pressed out separate leaves/ petals and then built them together as three-dimensional pieces.

Sprig moulds are something i has considered making myself to get the exact texture of the Carboniferous limestone in oxwich. I had taken presses of the rock in clay and had planned to fire them and create plaster moulds of the exact texture. However with no kiln firings i will have to do my best to mimic the texture from my reference photos with the tools i have available.

I like phoebes work and her use of unfired clay seem to make the works more precious. Which is exactly what i want to achieve with my project i want the value of the landscape to be reflected in its ephemeral nature.

Design a site like this with WordPress.com
Get started